


Thrive Liquid Organic Plant Vitamin for Cannabis
Thrive Liquid Organic Plant Vitamin for Cannabis
In stock
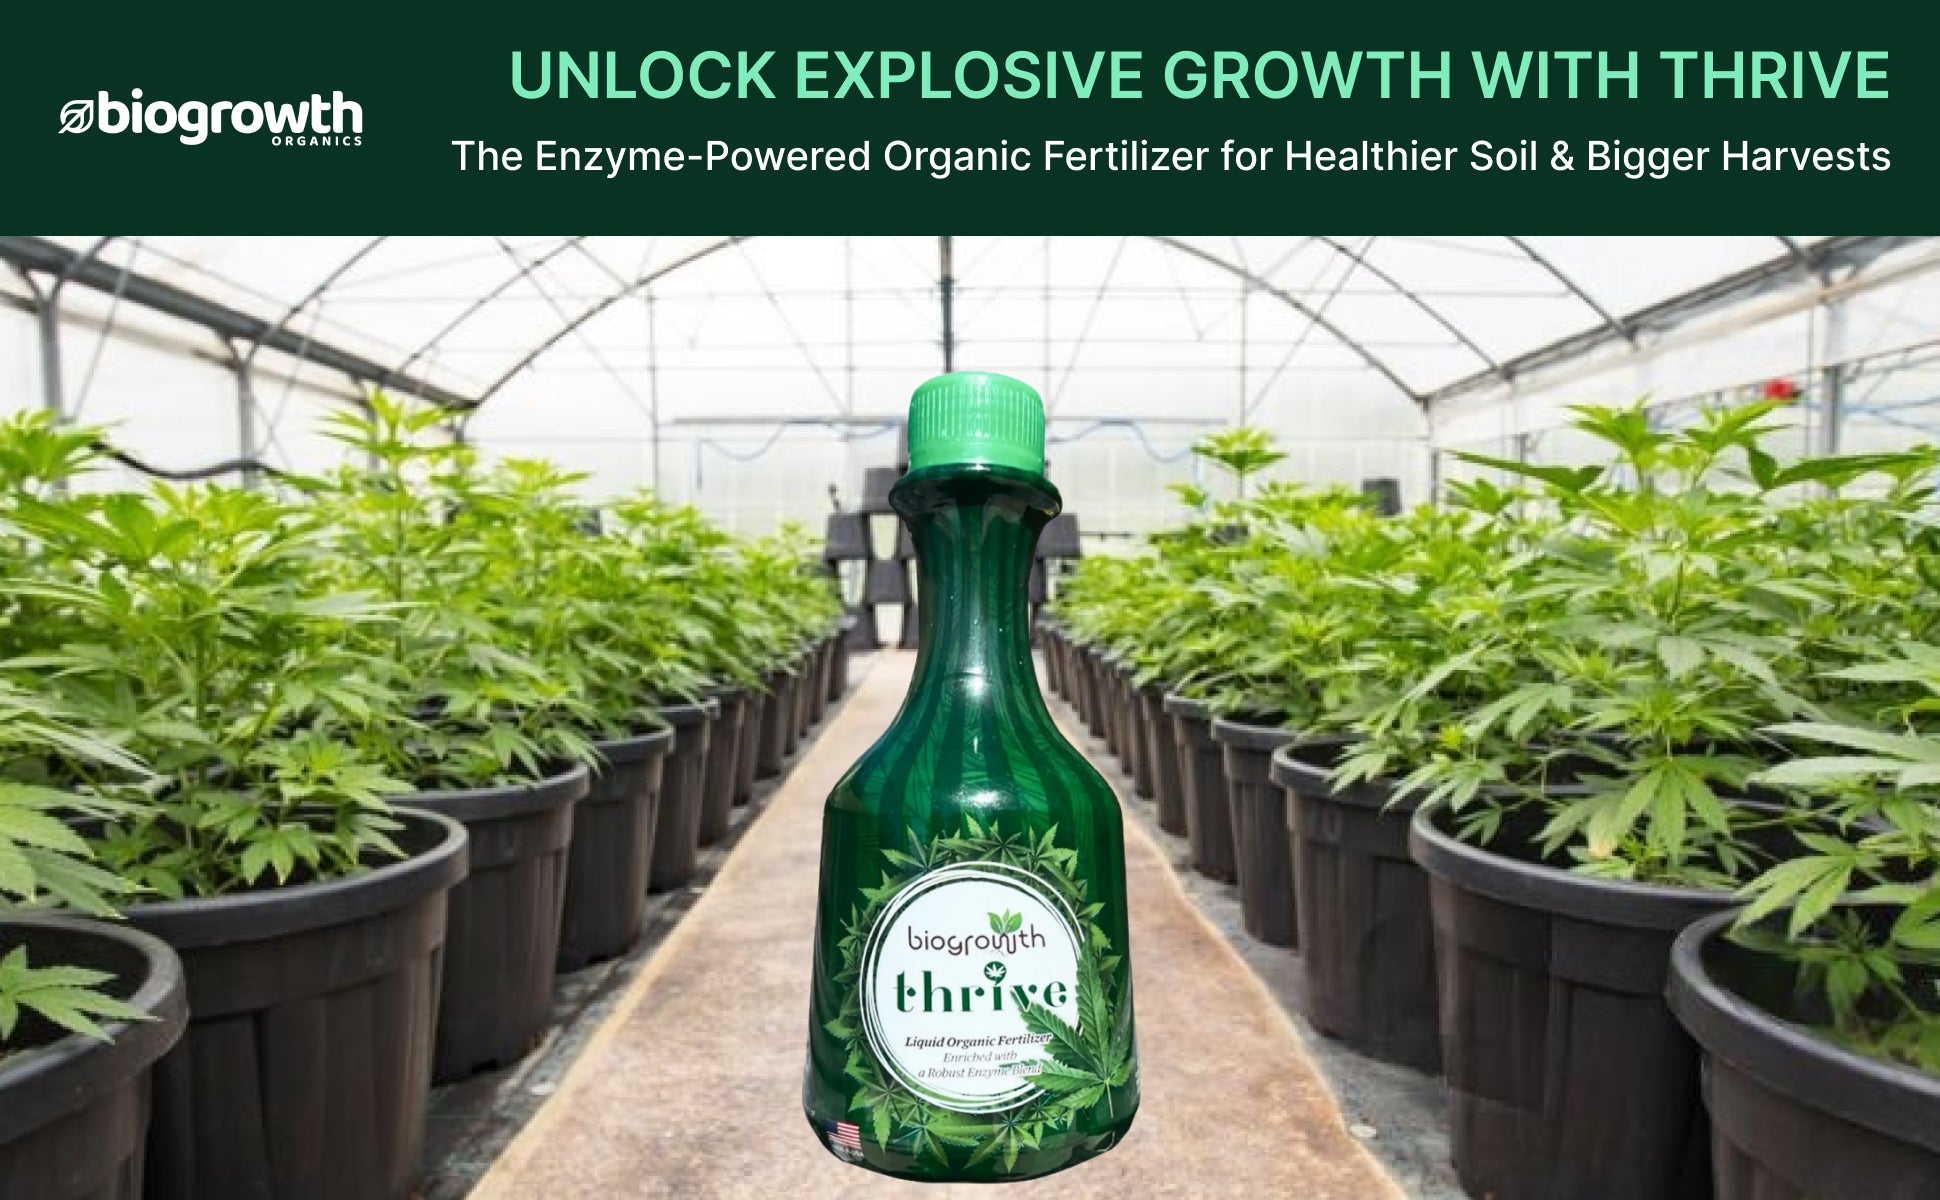
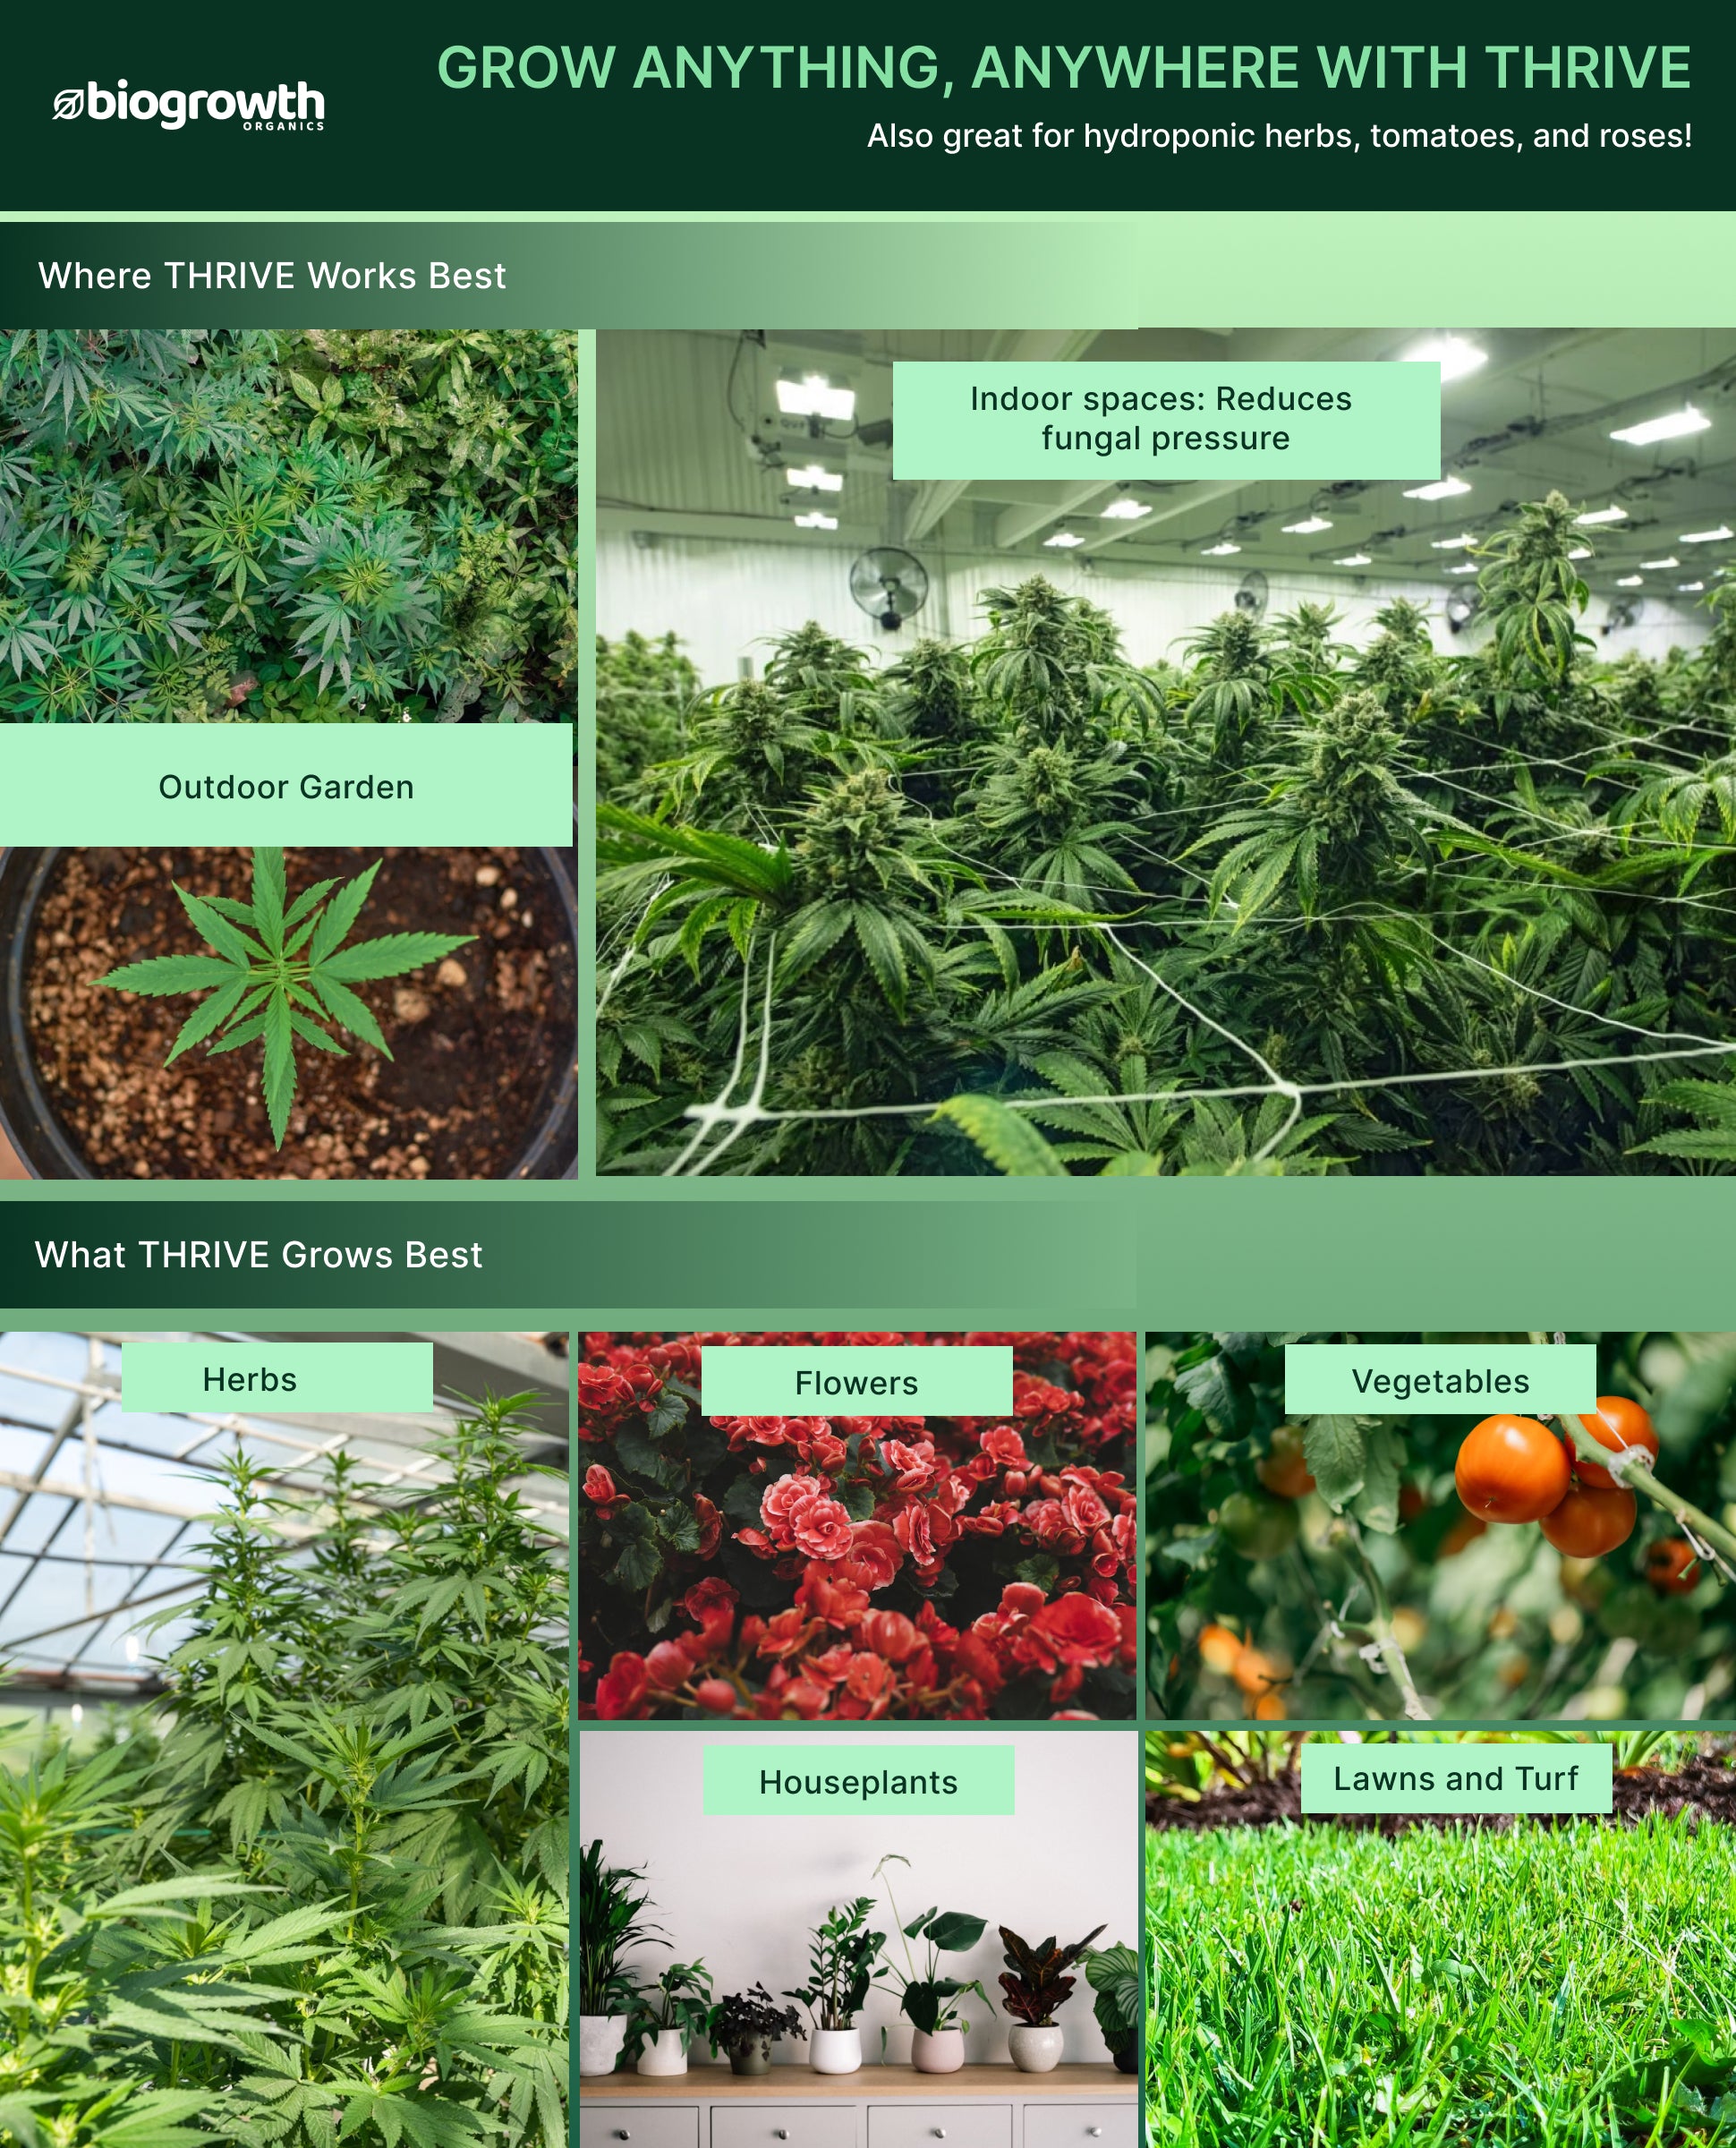
Whether you’re a home grower or a commercial cultivator, Biogrowth Thrive is your partner in achieving exceptional cannabis growth and quality. This dual-purpose plant fertilizer and vitamin supports every stage of the cannabis lifecycle.

About this item
| Item Weight | 285 Grams (10.05 ounces) |
| Item Form | Liquid |
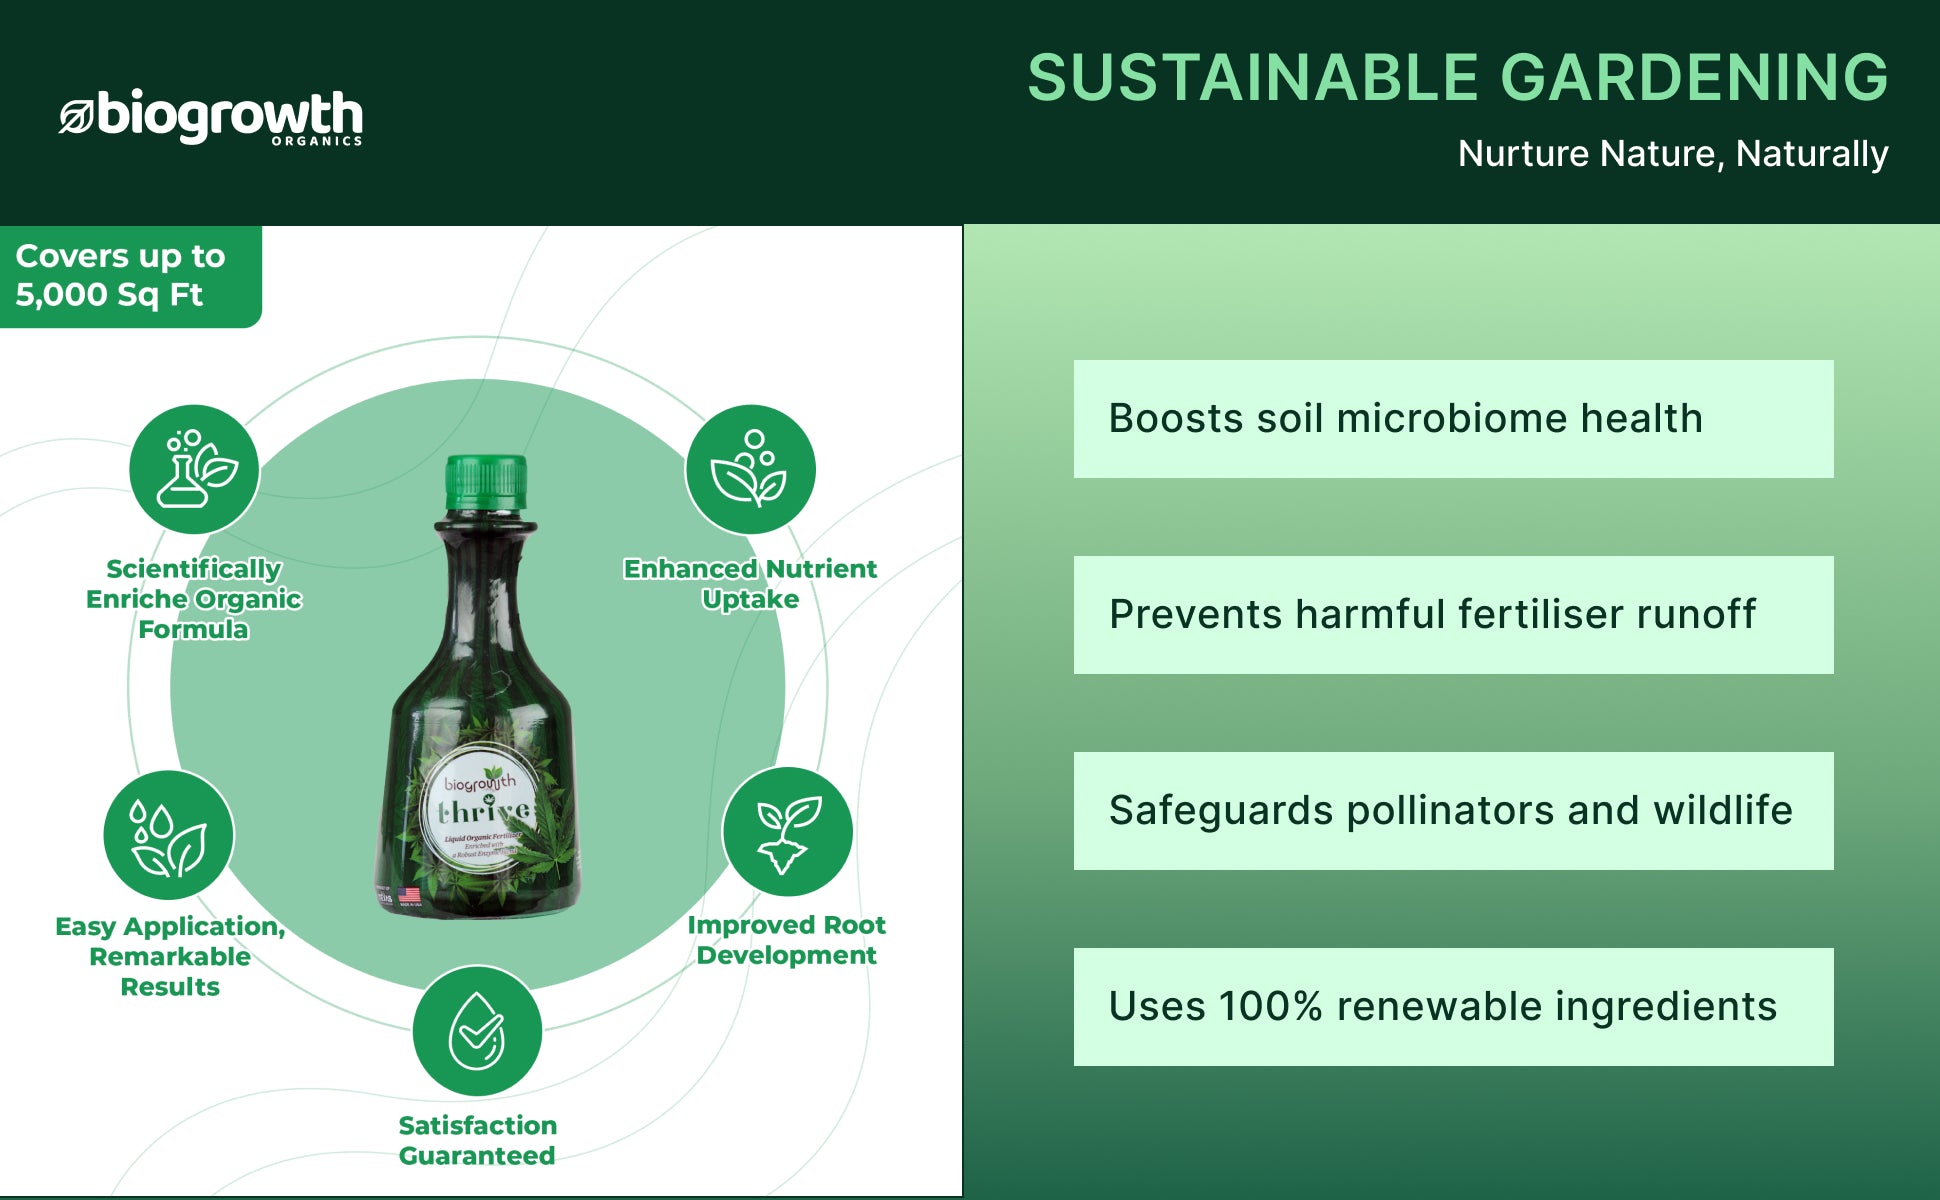
| Coverage | 5000Sq.ft |
| Liquid Volume | 8.45 Fluid Ounces |
An advanced technology solution specially developed for cannabis (sativa, indica, and hybrid) that works as both a plant fertilizer & vitamin, delivering precise nutrition for optimal results.
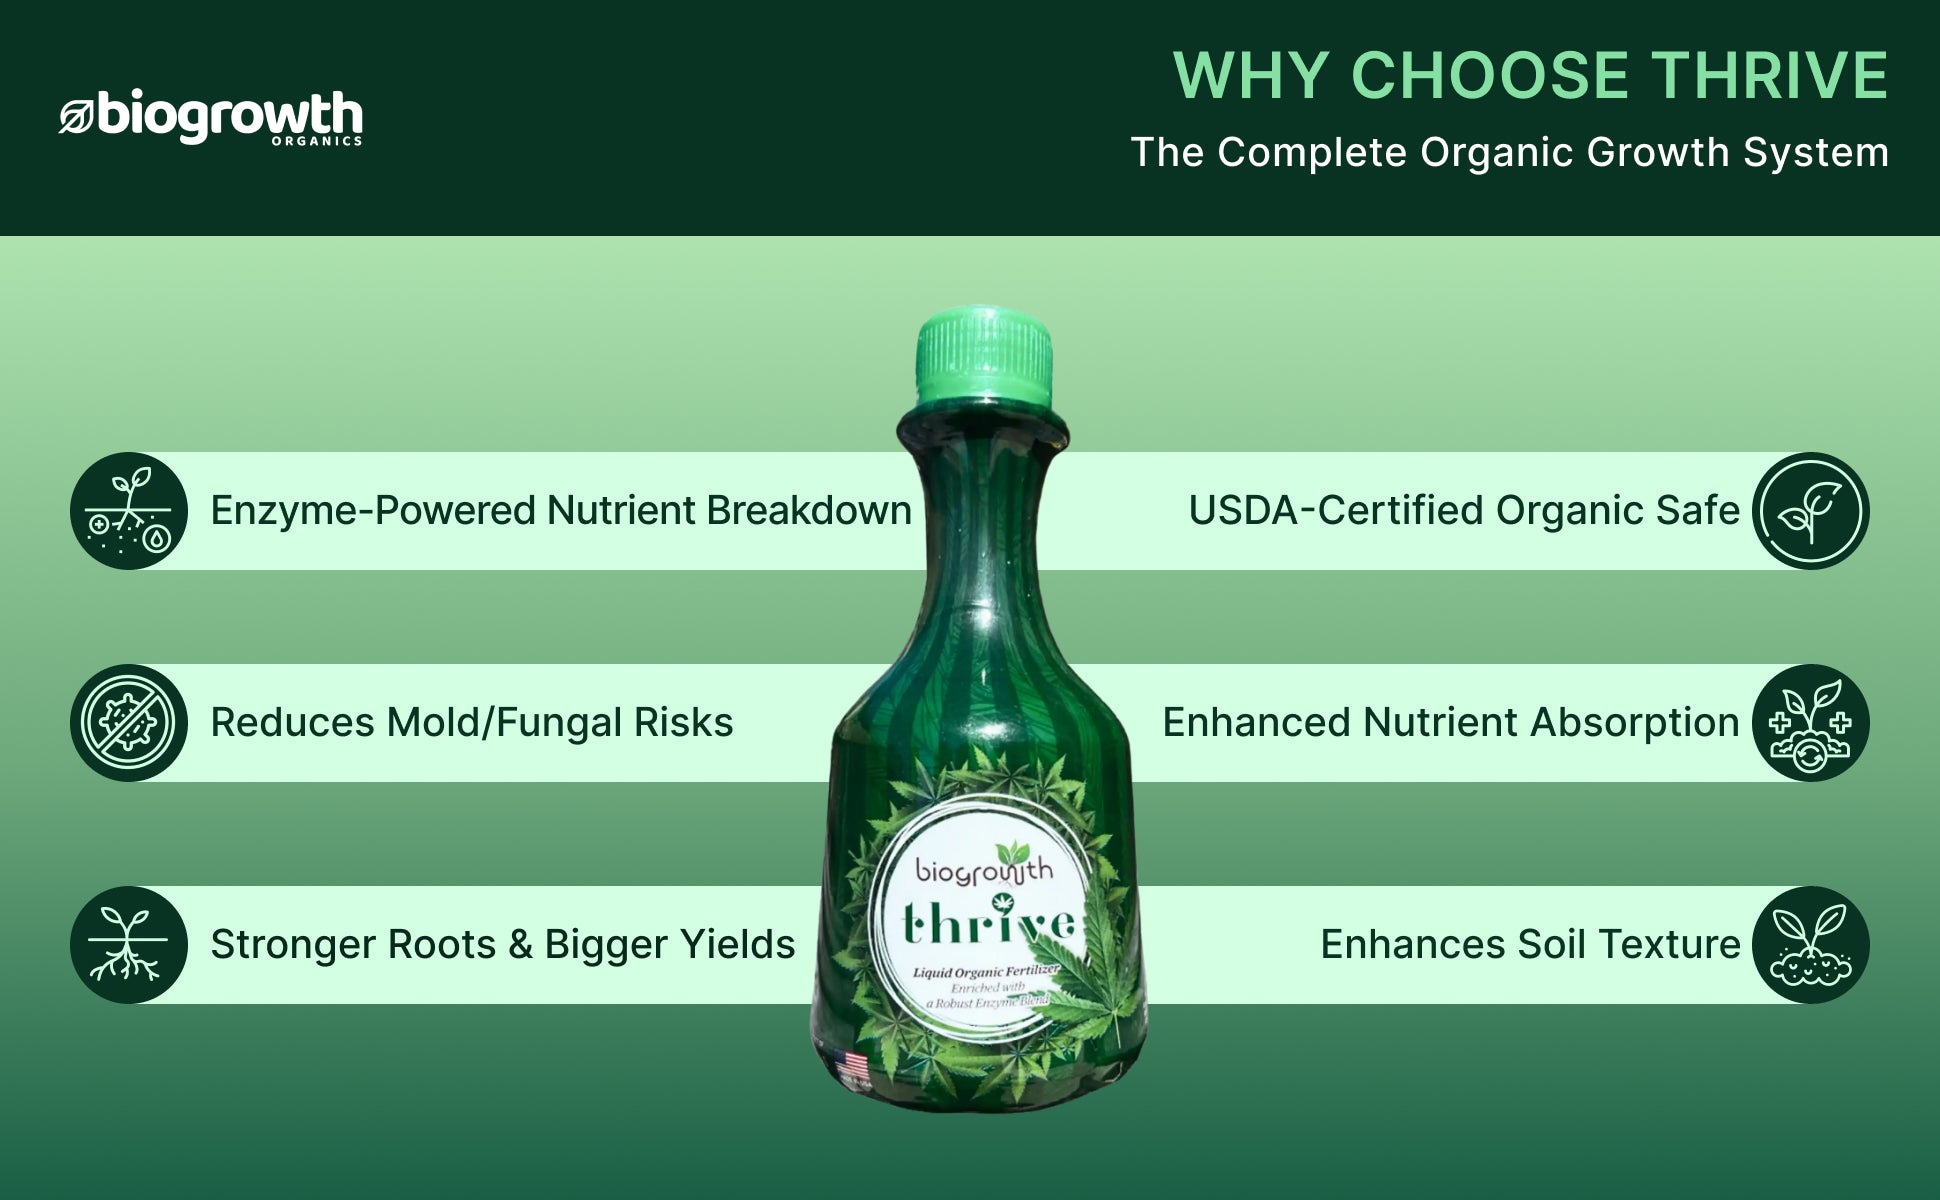
Enzyme Powered Growth: Enriched with a robust enzyme blend that accelerates nutrient breakdown, improving absorption and plant development.
Stronger Roots & Stalks: Promotes greater root mass, stronger stalks, and larger buds, leading to higher cannabis yields.
Protection: ensuring healthier plants and premium-quality harvests.
Nutrient-Rich Formula: Contains humic & fulvic acids, vitamins (B1, C, E), and essential micro elements to support optimal soil health and plant vigor.
Sustainable & Safe: Ideal for organic cultivation, hydroponics, and greenhouse growing, promoting eco-friendly and chemical-free farming.
Important Info: KEEP OUT OF REACH OF CHILDREN
Ingredients
Ingredients
Directions for Use
Directions for Use
Storage
Storage
Why Choose Biogrowth Thrive?
Why Choose Biogrowth Thrive?

Frequently Asked Questions
What is Biogrowth Thrive, and how does it benefit cannabis plants?
What is Biogrowth Thrive, and how does it benefit cannabis plants?
Biogrowth THRIVE is an advanced organic liquid fertilizer specifically formulated for cannabis (sativa, indica, and hybrids). It enhances soil health, nutrient uptake, root mass, bud size, and yield while protecting against stress, mold, and pH imbalances.
How do I use Biogrowth Thrive for my cannabis plants?
How do I use Biogrowth Thrive for my cannabis plants?
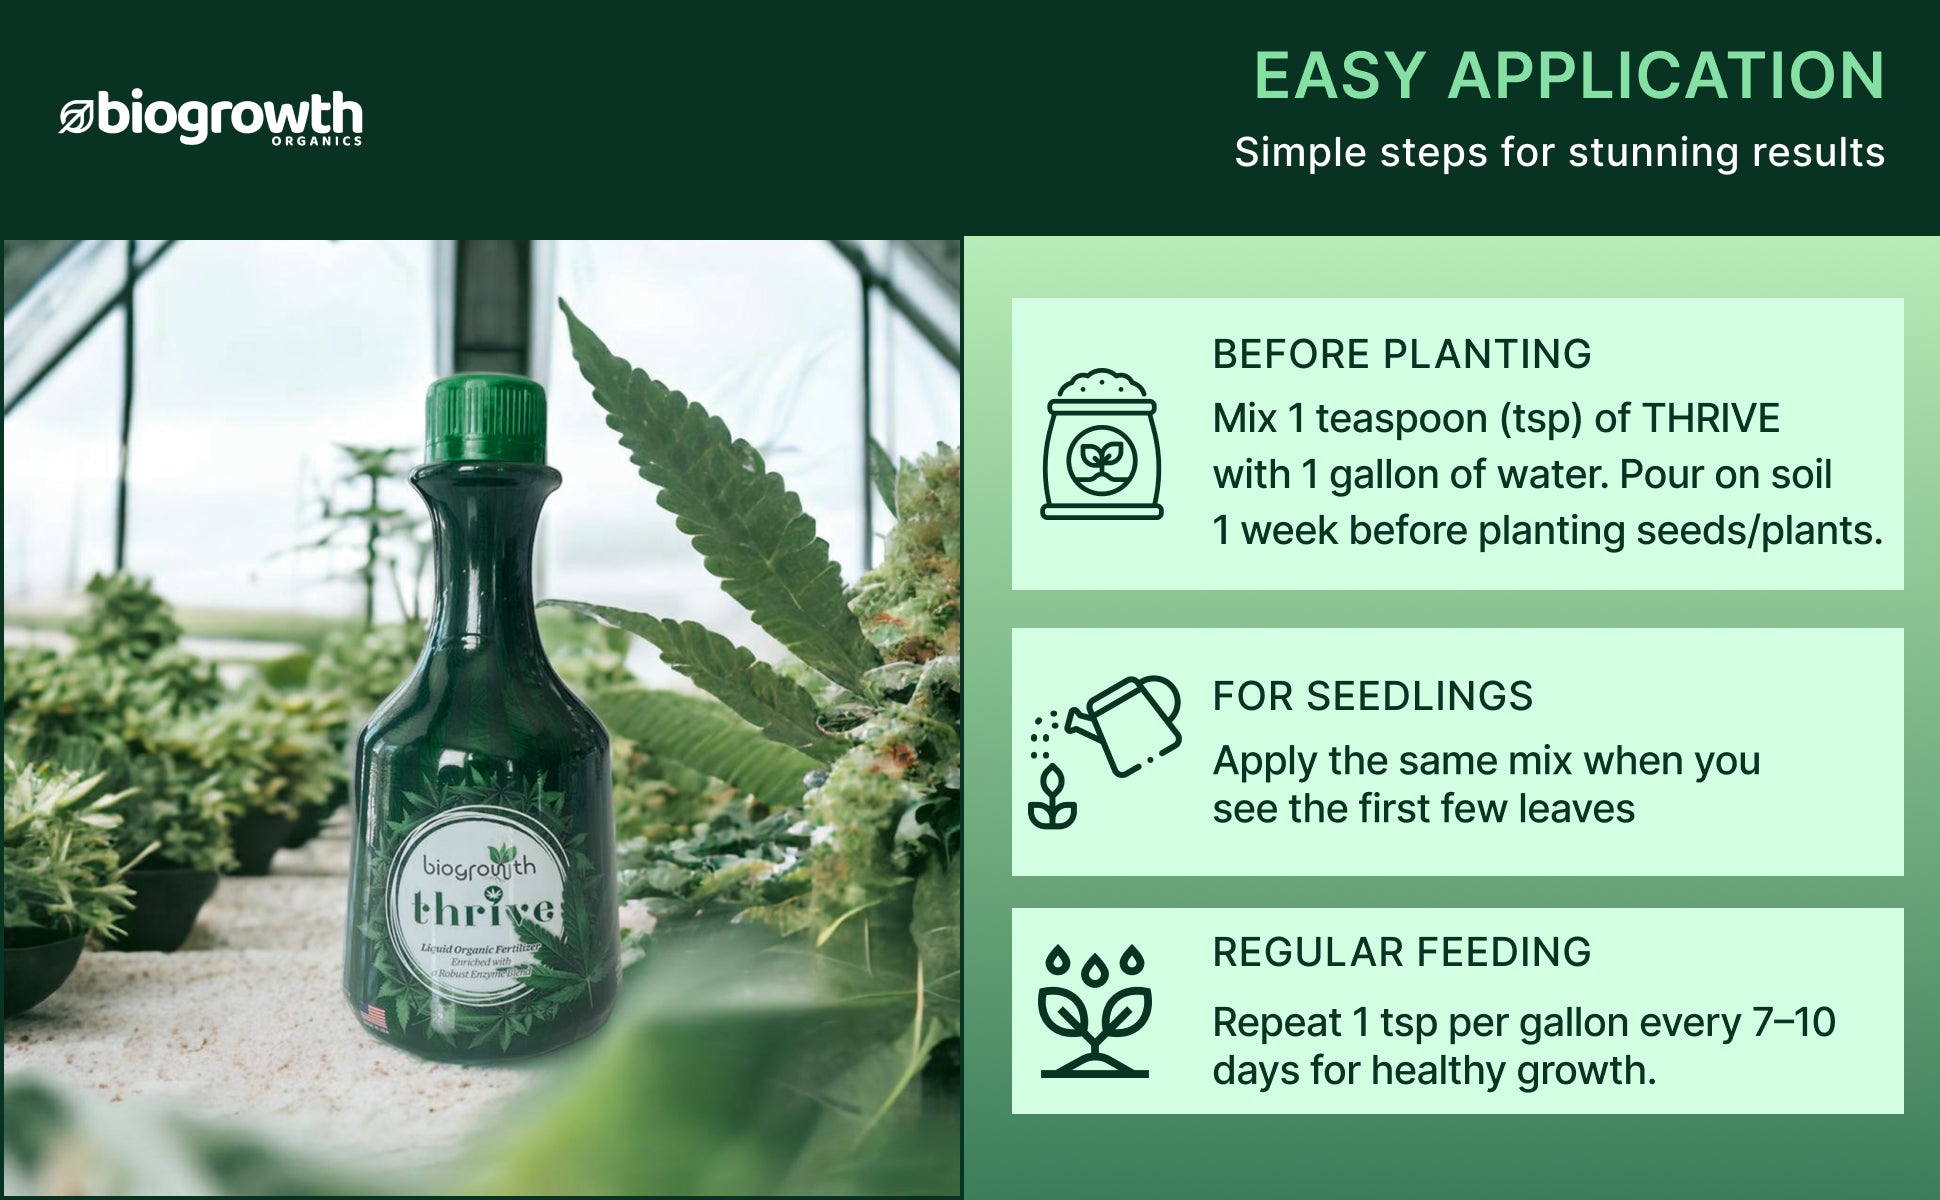
- Before Planting: Treat soil 1–2 weeks prior to planting by mixing 1 teaspoon of Thrive per gallon of water.
- Seedlings: Apply the first treatment at a rate of 1 teaspoon per gallon of water.
- During Growth: Apply 1 teaspoon per gallon of water every week throughout the plant’s lifecycle.
Can I use Biogrowth Thrive for other plants besides cannabis?
Can I use Biogrowth Thrive for other plants besides cannabis?
While it is specifically formulated for cannabis, the nutrient-rich blend may also support other high-yield plants. However, it is optimized for cannabis cultivation and may not provide the same benefits for non-cannabis plants.
Can I mix Biogrowth Thrive with pesticides or other fertilizers?
Can I mix Biogrowth Thrive with pesticides or other fertilizers?
No, Biogrowth Thrive should not be mixed with pesticides or chemical-based fertilizers. It is designed to work independently to maximize its effectiveness in improving plant health and yield.
Does Thrive help prevent mold on cannabis plants?
Does Thrive help prevent mold on cannabis plants?
Yes! Its enzyme and microbial blend improves plant resilience and reduces excess moisture retention, lowering the risk of mold.
How does Thrive improve cannabinoid and terpene production?
How does Thrive improve cannabinoid and terpene production?
By optimizing nutrient absorption and soil health, THRIVE supports higher resin production, leading to enhanced potency, flavor, and aroma.
How long until I see results?
How long until I see results?
- Early Growth: Stronger roots and stalks within 2-3 weeks.
- Flowering Stage: Larger buds and improved resin production become noticeable.
- Full Cycle: Best results come with consistent weekly use.
Is Biogrowth Thrive safe for organic farming?
Is Biogrowth Thrive safe for organic farming?
Yes! It is 100% organic and free from synthetic chemicals, making it an excellent choice for sustainable and organic cannabis cultivation.
Can Thrive help with stressed or damaged plants?
Can Thrive help with stressed or damaged plants?
Yes! It strengthens plants against drought, frost, and transplant shock, aiding recovery and promoting healthier growth.
What makes Thrive different from other cannabis fertilizers?
What makes Thrive different from other cannabis fertilizers?
Unlike synthetic nutrients, THRIVE uses enzymes, microbes, and organic compounds to improve soil biology, leading to long-term plant health rather than just short-term feeding.
Related Articles

Best Plants for Your First Raised Bed Garden: A Beginner’s Guide to Success
So, you’ve built your first raised bed. You’re one step closer to harvesting fresh, homegrown veggies and herbs right outside your door. But as you stand before that pristine plot of soil, the big question hits: What should you grow first? The secret to a successful first season isn't growing everything; it’s choosing high-yield, low-maintenance plants that offer "quick wins." In this guide, we’ll break down the best crops for beginners and how to ensure your raised bed thrives from day one. 1. Fast-Growing Leafy Greens Leafy greens are the "entry-level" superstars of the gardening world. Most are ready to harvest in just a few weeks and thrive in the cooler temperatures of spring and fall. Top Picks: Romaine lettuce, Spinach, Arugula, and Kale. Why they work: They tolerate partial shade and allow for "cut-and-come-again" harvesting, meaning you can snip leaves and they’ll grow right back. Pro-Tip: Because greens have shallow roots, they are prone to drying out. Using a biological booster like Biogrowth Catalyst helps these fast growers absorb water more efficiently, keeping them crisp even during sudden spring heat spikes. 2. Fresh Kitchen Herbs Nothing beats snipping fresh basil or cilantro while you’re cooking. Most herbs love the superior drainage that raised beds provide. Top Picks: Basil, Parsley, Thyme, and Chives. Why they work: They are aromatic, low-maintenance, and act as great companion plants to deter pests from your vegetables. 3. Easy Root Vegetables Raised beds are the "gold standard" for root crops. Because you control the soil texture, you can ensure it stays loose and stone-free, the two things carrots and radishes need most. Top Picks: Radishes (mature in just 3 weeks!), Carrots, and Beets. Why they work: They take up very little vertical space and are incredibly satisfying to pull from the earth. 4. The Garden Stars: Tomatoes and Peppers These are the heavy hitters of the summer garden. They love the extra warmth that raised bed soil provides. Top Picks: Cherry tomatoes (highly prolific) and Jalapeños or Bell peppers. Success Strategy: Tomatoes need a support system like a cage or stake. Since these are "hungry" plants, a bi-weekly dose of organic vitamins ensures they have the energy to produce those plump, flavor-rich fruits we all crave. 5. Space-Saving Vines: Beans and Cucumbers If your raised bed is small, look for "bush" varieties or grow "pole" varieties vertically on a trellis. Top Picks: Bush beans and Slicing cucumbers. The Science Bit: Beans actually help your garden by "fixing" nitrogen into the soil, naturally improving the environment for the plants around them. Maximizing Your Raised Bed Success To get the most out of your new setup, follow these beginner-friendly rules: Don’t Overcrowd: It’s tempting to pack seedlings in, but airflow is vital to prevent disease. Focus on Soil Health: Raised bed soil can lose nutrients faster than the ground. To keep your "biological engine" running, treat your bed to a Live Enzyme treatment like Catalyst every 10–14 days. This keeps the soil "active" and the nutrients bio-available. Invite the Helpers: Plant Marigolds or Nasturtiums along the edges. They add a pop of color, attract pollinators, and naturally repel common garden pests. Sample 4x4 Raised Bed Plan Placement Plant Type Quantity Back Row Tomato (with cage) & Pole Beans 1 Tomato / 4 Beans Middle Row Carrots & Basil 12 Carrots / 2 Basil Front Row Lettuce & Radishes 4 Lettuce / 10 Radishes Corners Marigolds 2–4 Frequently Asked Questions 1. Is raised bed gardening easier than in-ground gardening? Generally, yes. You have fewer weeds, better drainage, and you don't have to deal with compacted or poor-quality native soil. It's also easier on your back! 2. How often should I water my raised bed? Raised beds dry out faster than the ground. In the heat of summer, you may need to water daily. Aim to keep the soil moist like a wrung-out sponge. 3. Do I need to add fertilizer to my new raised bed? Even with high-quality potting mix, plants quickly use up available minerals. Using an organic vitamin boost like Catalyst ensures your plants get a steady supply of B, C, and E vitamins without the risk of "burning" them with harsh synthetics. 4. What is the best soil for a raised bed? A mix of 60% topsoil, 30% high-quality compost, and 10% potting soil (or peat moss/perlite) is ideal for drainage and nutrient retention. 5. Can I grow flowers and vegetables together? Absolutely! This is called intercropping. Flowers like marigolds help protect your veggies from pests while making your garden look beautiful.
Read Blog
Where to Place a Raised Garden Bed: 7 Essential Tips for the Perfect Location
Starting a raised bed garden is one of the most rewarding ways to grow your own food - but before you pick up a hammer or buy your soil, there is one decision that will dictate your success: Location. The right spot ensures your plants get the energy they need, while the wrong spot can lead to stunted growth and frustrated gardeners. Whether you are building a custom timber frame or using a metal kit, here is how to choose the best location for your raised bed to ensure a thriving spring harvest. 1. Prioritize Maximum Sunlight Exposure Most vegetables and herbs are "sun-worshippers," requiring 6 - 8 hours of direct sunlight daily. While leafy greens like spinach can tolerate partial shade, the "heavy hitters" like tomatoes and peppers need full sun to produce sugars and ripen fruit. Look for: A spot with clear southern exposure (in the Northern Hemisphere). Avoid: Placing beds directly under the "drip line" of large trees, which cast deep shadows and drop debris. Pro-Tip: If your chosen spot is a bit "light-challenged," you can give your plants a biological advantage. Using Biogrowth Catalyst provides a vitamin boost (B1, C, and E) that helps plants manage environmental stress, including slightly less-than-ideal light conditions. 2. Proximity to a Water Source Raised beds drain faster than in-ground gardens, meaning they require more frequent watering during the peak of summer. The Golden Rule: Place your bed within easy reach of a garden hose or rain barrel. Avoid: Dragging 100 feet of hose across the yard every morning. If the task is difficult, it won't get done, and your plants will suffer. Future-Proofing: Consider laying a simple drip irrigation line before you fill the bed with soil. It is much easier to install in an empty frame! 3. Find Flat, Level Ground A raised bed must sit on level ground to ensure even water distribution. If the bed is tilted, water will run to one end, leaving half your plants thirsty and the other half drowning. Check for: Standing water or "soft spots" after a rainstorm. You want a site with good natural drainage. Sloped Yards: If your yard isn't flat, you may need to "dig in" the high side of the bed or create a small terrace to keep the frame level. 4. Shield Your Plants from High Winds Strong gusts can whip delicate seedlings, dry out the soil surface rapidly, and even snap tall plants like sunflowers or staked tomatoes. Ideal Spot: Near a fence, hedge, or the side of a garden shed. These structures act as a windbreak without completely blocking the sun. Internal Tip: For plants that have already been exposed to wind stress, maintaining strong root development is key. Healthy roots act as a better anchor for the plant. 5. Visibility and Convenience "Out of sight, out of mind" is a dangerous reality in gardening. If you have to walk to the far corner of your property to check on your crops, you’re less likely to catch pests early or harvest at the peak of flavor. Best Location: Near your kitchen door or a frequently used path. The "Window Test": Can you see your garden from the kitchen window? Being able to see a drooping leaf from inside is often the reminder you need to grab the watering can. 6. Steer Clear of Tree Roots and Pests Placing a bed too close to large trees is a common mistake. Tree roots are highly competitive and will grow upward into your nutrient-rich raised bed soil to steal water and minerals. Pest Protection: Keep beds away from overgrown, untrimmed shrubs where slugs, snails, and rodents like to hide. Soil Health: To ensure your soil stays "exclusive" to your veggies, use a high-quality organic fertilizer. Our Vivid Liquid Organic Vitamin is excellent for maintaining soil fertility in ornamental-adjacent beds without attracting the wrong kind of "pests" associated with some synthetic chemicals. 7. Leave Room for Growth (and Walking!) Don't forget that you need space to move. You’ll need a wheelbarrow for mulch, space to kneel for weeding, and room to carry large harvest baskets. Planning: Leave at least 18 - 24 inches between beds or fences. Expansion: If you think you'll want more beds next year, make sure your current placement doesn't "land-lock" your future garden. Frequently Asked Questions 1. Can I put a raised bed on concrete or pavers? Yes, but you need to ensure proper drainage. Use a bed at least 12–18 inches deep and consider adding a liner or a layer of gravel at the bottom to prevent water from pooling against the concrete. 2. Which direction should my raised bed face? For maximum sun exposure, align the long side of the bed to face South. This ensures all plants in the row get equal sunlight throughout the day. 3. Is it okay to put a raised bed right against a wooden fence? It’s possible, but not ideal. Moisture from the soil can cause the fence to rot over time, and it makes it impossible to weed or harvest from that side of the bed. Leave a small gap for airflow. 4. How deep should my raised bed soil be? Most vegetables need at least 8 - 12 inches of soil for healthy root growth. If you are planting on top of poor-quality ground or concrete, aim for a bed that is 18–24 inches deep. 5. How do I know if my chosen spot gets enough sun? You can use a "Sun Map." Mark your spot on a piece of paper and check it every hour on a sunny day. Note when the sun hits the spot and when it falls into shadow. If it’s under 6 hours, consider a different location!
Read Blog
The Science Behind Hydroponics: How Plants Thrive Without Soil
If you’ve ever seen crisp emerald lettuce floating in a sleek water tank or vibrant basil thriving on a kitchen windowsill without a speck of dirt in sight, you’ve witnessed a biological marvel. Welcome to the world of hydroponics, where plants grow without soil and often, far more efficiently than they do in traditional gardens. But how do plants survive, let alone thrive, without the one thing we’ve always associated with gardening? The answer lies in precision science. What exactly is Hydroponics? At its core, hydroponics is the method of growing plants using water, oxygen, and a mineral-rich nutrient solution. The word stems from the Greek words hydro (water) and ponos (work) literally "working water." In this system, we remove the "middleman" (soil) and deliver essential elements directly to the root zone. While soil acts as a reservoir for nutrients, it can also be a source of pests, diseases, and inconsistent pH levels. Hydroponics eliminates these variables to create a "perfect" growing environment. The Biology of Nutrient Absorption: Soil vs. Water To understand why hydroponic plants grow up to 50% faster, we have to look at how they "eat." In Traditional Soil: Plants must expend massive amounts of metabolic energy growing long, complex root systems to "hunt" for pockets of moisture and minerals. In Hydroponics: Nutrients are already dissolved in a bio-available state. The roots sit in a literal "vitamin bath." Because the plant doesn't have to work to find food, it redirects all that saved energy into lush leaf growth and abundant flowering. To maximize this absorption, professional growers often supplement their reservoirs with Biogrowth Catalyst. Its Live Enzyme Technology acts like a "digestive system" for the water, breaking down organic matter and making micro-nutrients instantly available to the roots. The Five Pillars of a Soil-Free System For a plant to thrive without dirt, the hydroponic system must replicate the five functions of soil using more precise tools: Function of Soil Hydroponic Alternative Nutrient Supply Mineral-rich water solution (N-P-K + Trace minerals) Moisture Retention Constant circulation or absorbent inert mediums Physical Support Inert mediums like clay pebbles, rockwool, or net pots Root Aeration Air pumps, air stones, or falling water (oxygenation) pH Buffering Precise manual or digital pH monitoring The Role of Oxygen Perhaps the most overlooked factor in hydroponics is oxygen. While leaves breathe carbon dioxide, roots require oxygen to perform cellular respiration. In soil, air pockets provide this. In water, we use air stones similar to those in fish tanks to create "dissolved oxygen." Without it, plants can suffer from root rot. To keep the root zone pristine and free of buildup, many growers use Enzymplus. These enzymes keep the water "alive" and clean, ensuring the roots stay pearly white and highly absorbent. Controlled Environments: Gardening with Precision One of the greatest scientific advantages of hydroponics is environmental control. By growing indoors or in a greenhouse, you can optimize: Light Cycles: Providing 14 - 16 hours of LED "sunlight" to speed up photosynthesis. Temperature & Humidity: Keeping plants in their "comfort zone" to prevent stress. pH Levels: Ensuring the water stays between 5.5 and 6.5, the "sweet spot" where plants can actually absorb nutrients. Why Hydroponics is the Future of Sustainable Growth Beyond the faster harvest times (leafy greens in 3 weeks vs. 6 weeks in soil), the science of hydroponics is inherently eco-friendly. Because the water recirculates, these systems use up to 90% less water than traditional farming. Whether you are starting a small herb garden or exploring aquaponics vs. hydroponics for a larger setup, you are utilizing a cleaner, smarter way to grow. By understanding the science behind the system, you aren't just gardening - you're engineering success. Frequently Asked Questions 1. Do hydroponic plants need special light? They need the same quality of light as soil plants. Indoors, this usually means full-spectrum LED grow lights that mimic the sun’s rays, specifically focusing on the blue and red spectrums for growth and bloom. 2. What are inert growing mediums? Materials like clay pebbles (LECA), rockwool, or perlite. They don't provide nutrients but give the roots a structure to hold onto, keeping the plant upright while allowing water and air to flow freely. 3. Is it hard to maintain the nutrient balance? It's simpler than it sounds! By using a pre-mixed solution and checking the water with a simple pH meter once a week, you can maintain a much more stable environment than you ever could in unpredictable backyard soil. 4. How much space do I need to start? One of the best parts of hydroponics is its space efficiency. Because roots don't have to "spread out" to find food in soil, you can grow up to 3 times more plants in the same footprint. Whether it’s a mason jar on a windowsill or a vertical tower in a corner, you can garden almost anywhere. 5. How often should I change the water? To keep your system running smoothly, we recommend a full reservoir change every 2–3 weeks. This prevents nutrient imbalances and keeps the water fresh. Adding a fresh dose of Catalyst during each change ensures your plants have the vitamins they need to maintain high-speed growth.
Read Blog