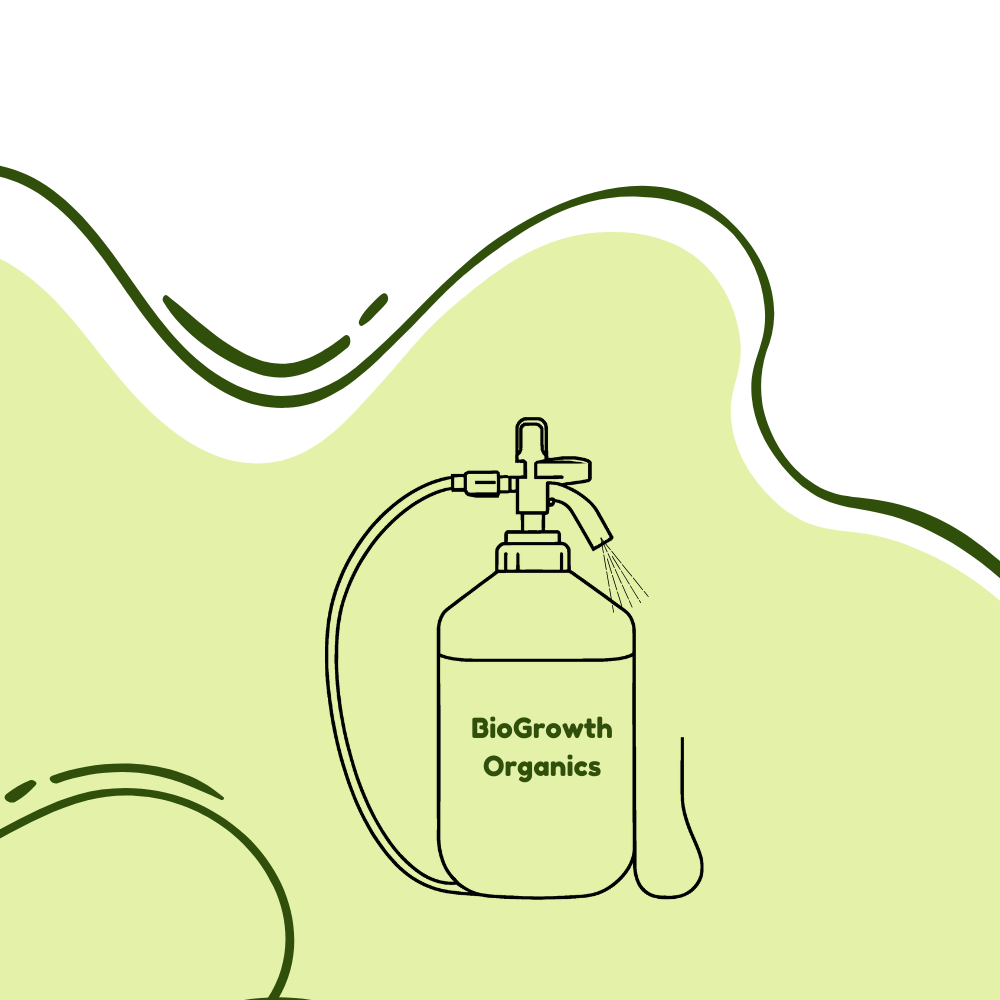
Why Choose Biogrowth Organics for Your Gardening Needs?


Science-Backed Nutrients for Your Greenest Garden Yet
Lab tested formulas that fuel growth, enhance soil and deliver unmatched results naturally


Vivid Liquid Organic Plant Vitamin for Flowers & Lawns


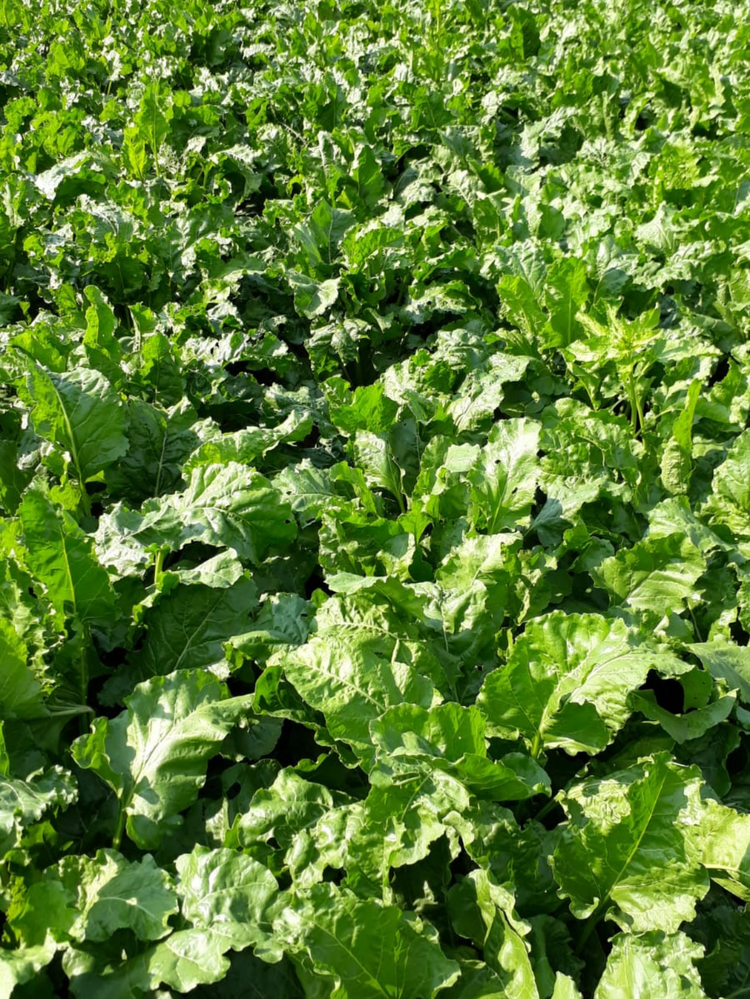
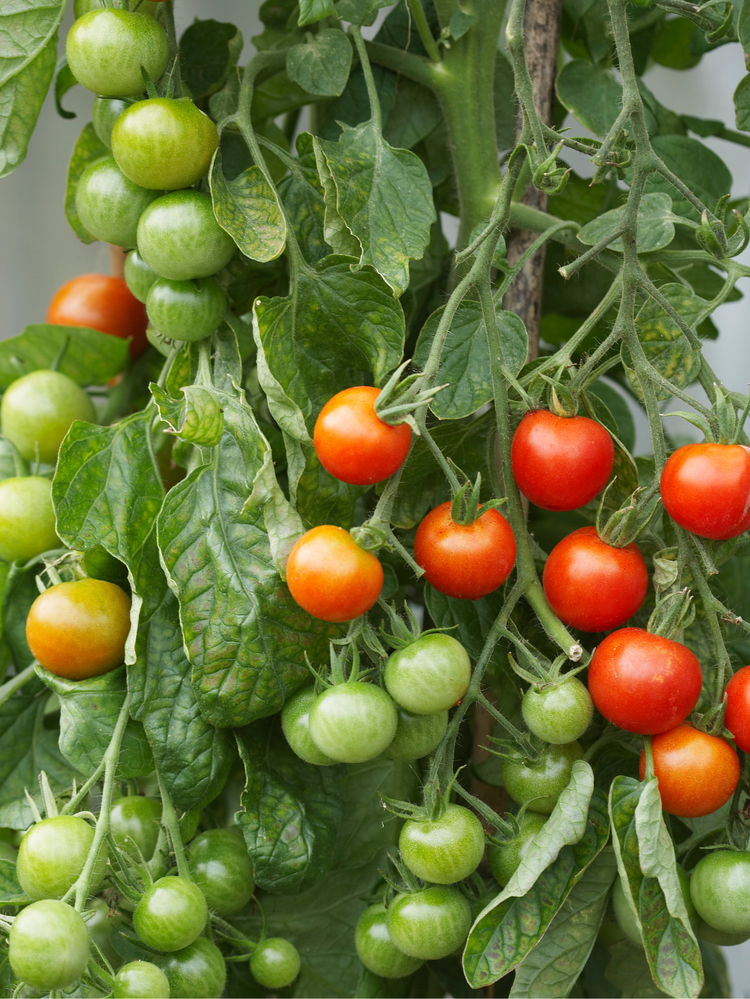
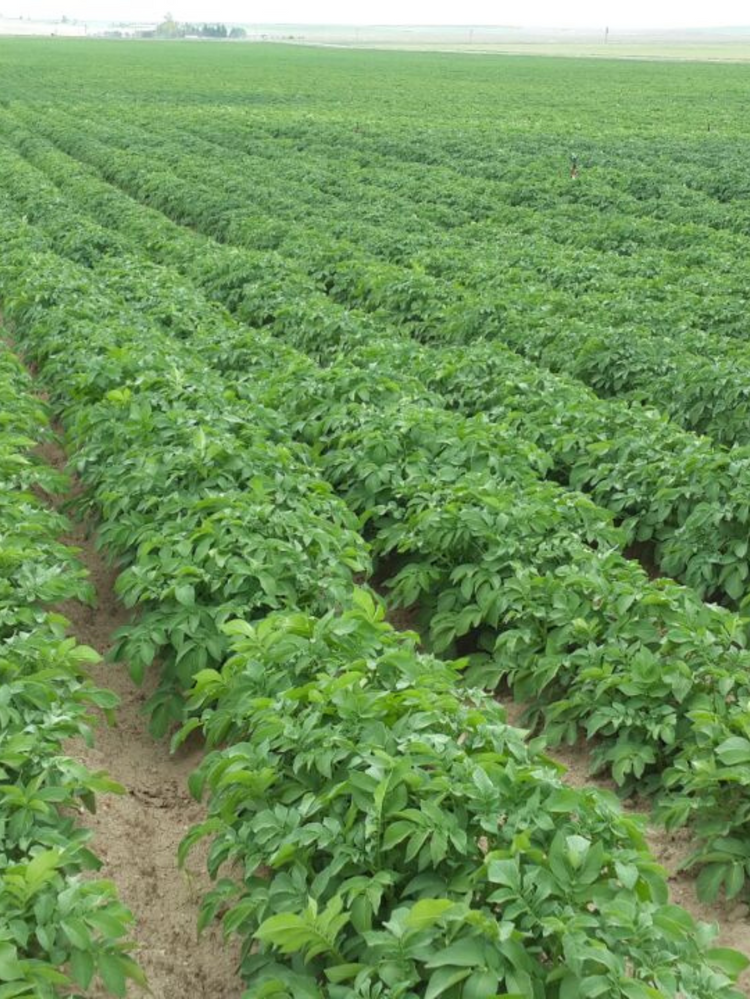
Catalyst Liquid Organic Plant Vitamin for Veggies & Fruits


Thrive Liquid Organic Plant Vitamin for Cannabis

Why BioGrowth?
Revolutionizes plant care with cutting edge enzyme technology and microbial solutions that enrich soil, strengthen plants, and promote long-term sustainability. Whether you're an experienced farmer or a first-time gardener, BioGrowth simplifies the growing process of eliminating guesswork and reducing reliance on synthetic fertilizers and pesticides.
100% Organic & Eco-Friendly
100% Organic & Eco-Friendly
Made from natural, sustainable ingredients, BioGrowth nurtures plants while protecting the environment. It enhances biodiversity and soil fertility without harmful chemicals.
Science-Backed, No Guesswork Required
Science-Backed, No Guesswork Required
Powered by advanced enzyme technology and microbial blends, BioGrowth supercharges soil health and plant resilience. Yet, it’s designed for ease: no PhD required. Replace fertilizers, pesticides and boosters with one foolproof solution.
One Stop Solution, Every Gardener's Goal
One Stop Solution, Every Gardener's Goal
Forget juggling with multiple products. BioGrowth is a one-stop solution that supports plants at every stage making plant care simple, effective and accessible for growers of all levels.
Why We Stand Out ?
Why We Stand Out ?
“Empower Your Green Thumb, From Hobbyist to Pro." BioGrowth democratizes professional grade agricultural technology, making advanced gardening practices accessible to non professionals while enhancing efficacy and sustainability for seasoned growers.
Easy to Use. Minimal Effort, Maximum Growth.
Effortlessly enhances plant health with BioGrowth’s nutrient rich, easy to use formula. Our organic blend enriches the soil, fortifies roots, and supports sustainable growth, simplifying gardening while keeping it greener!
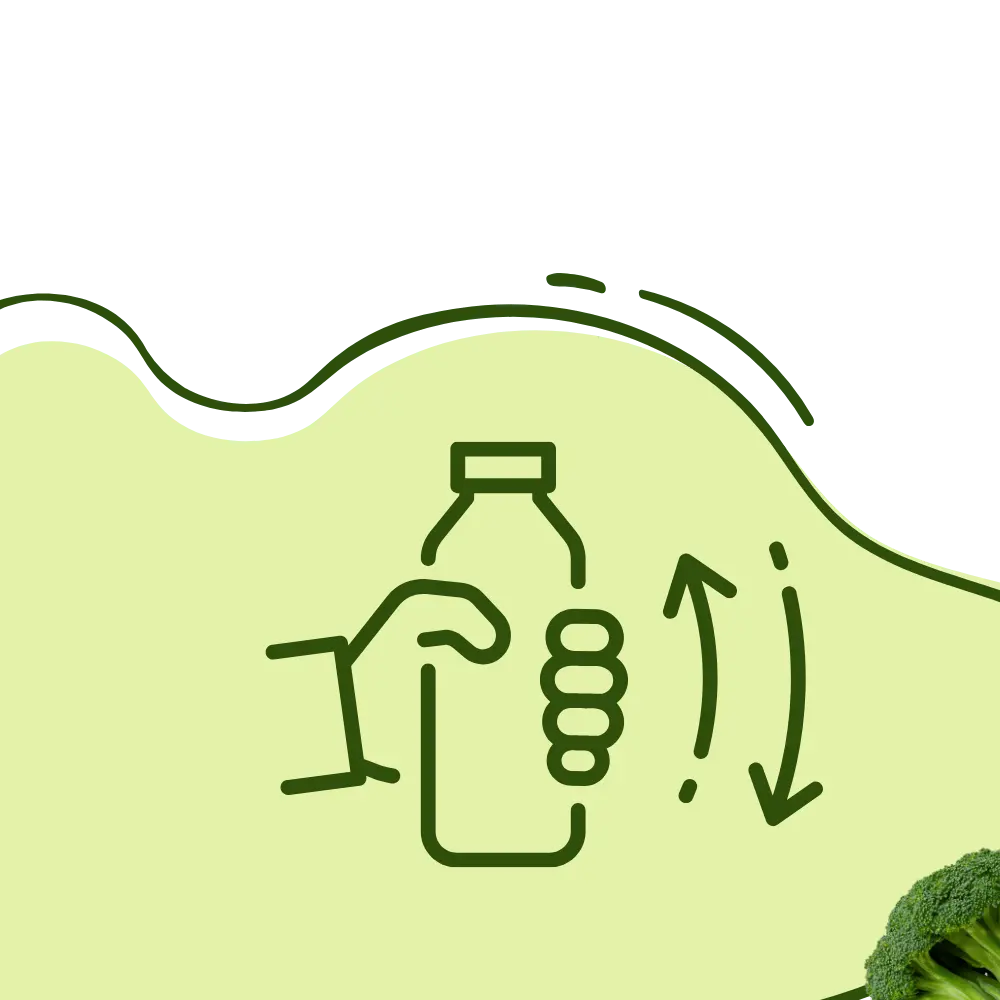
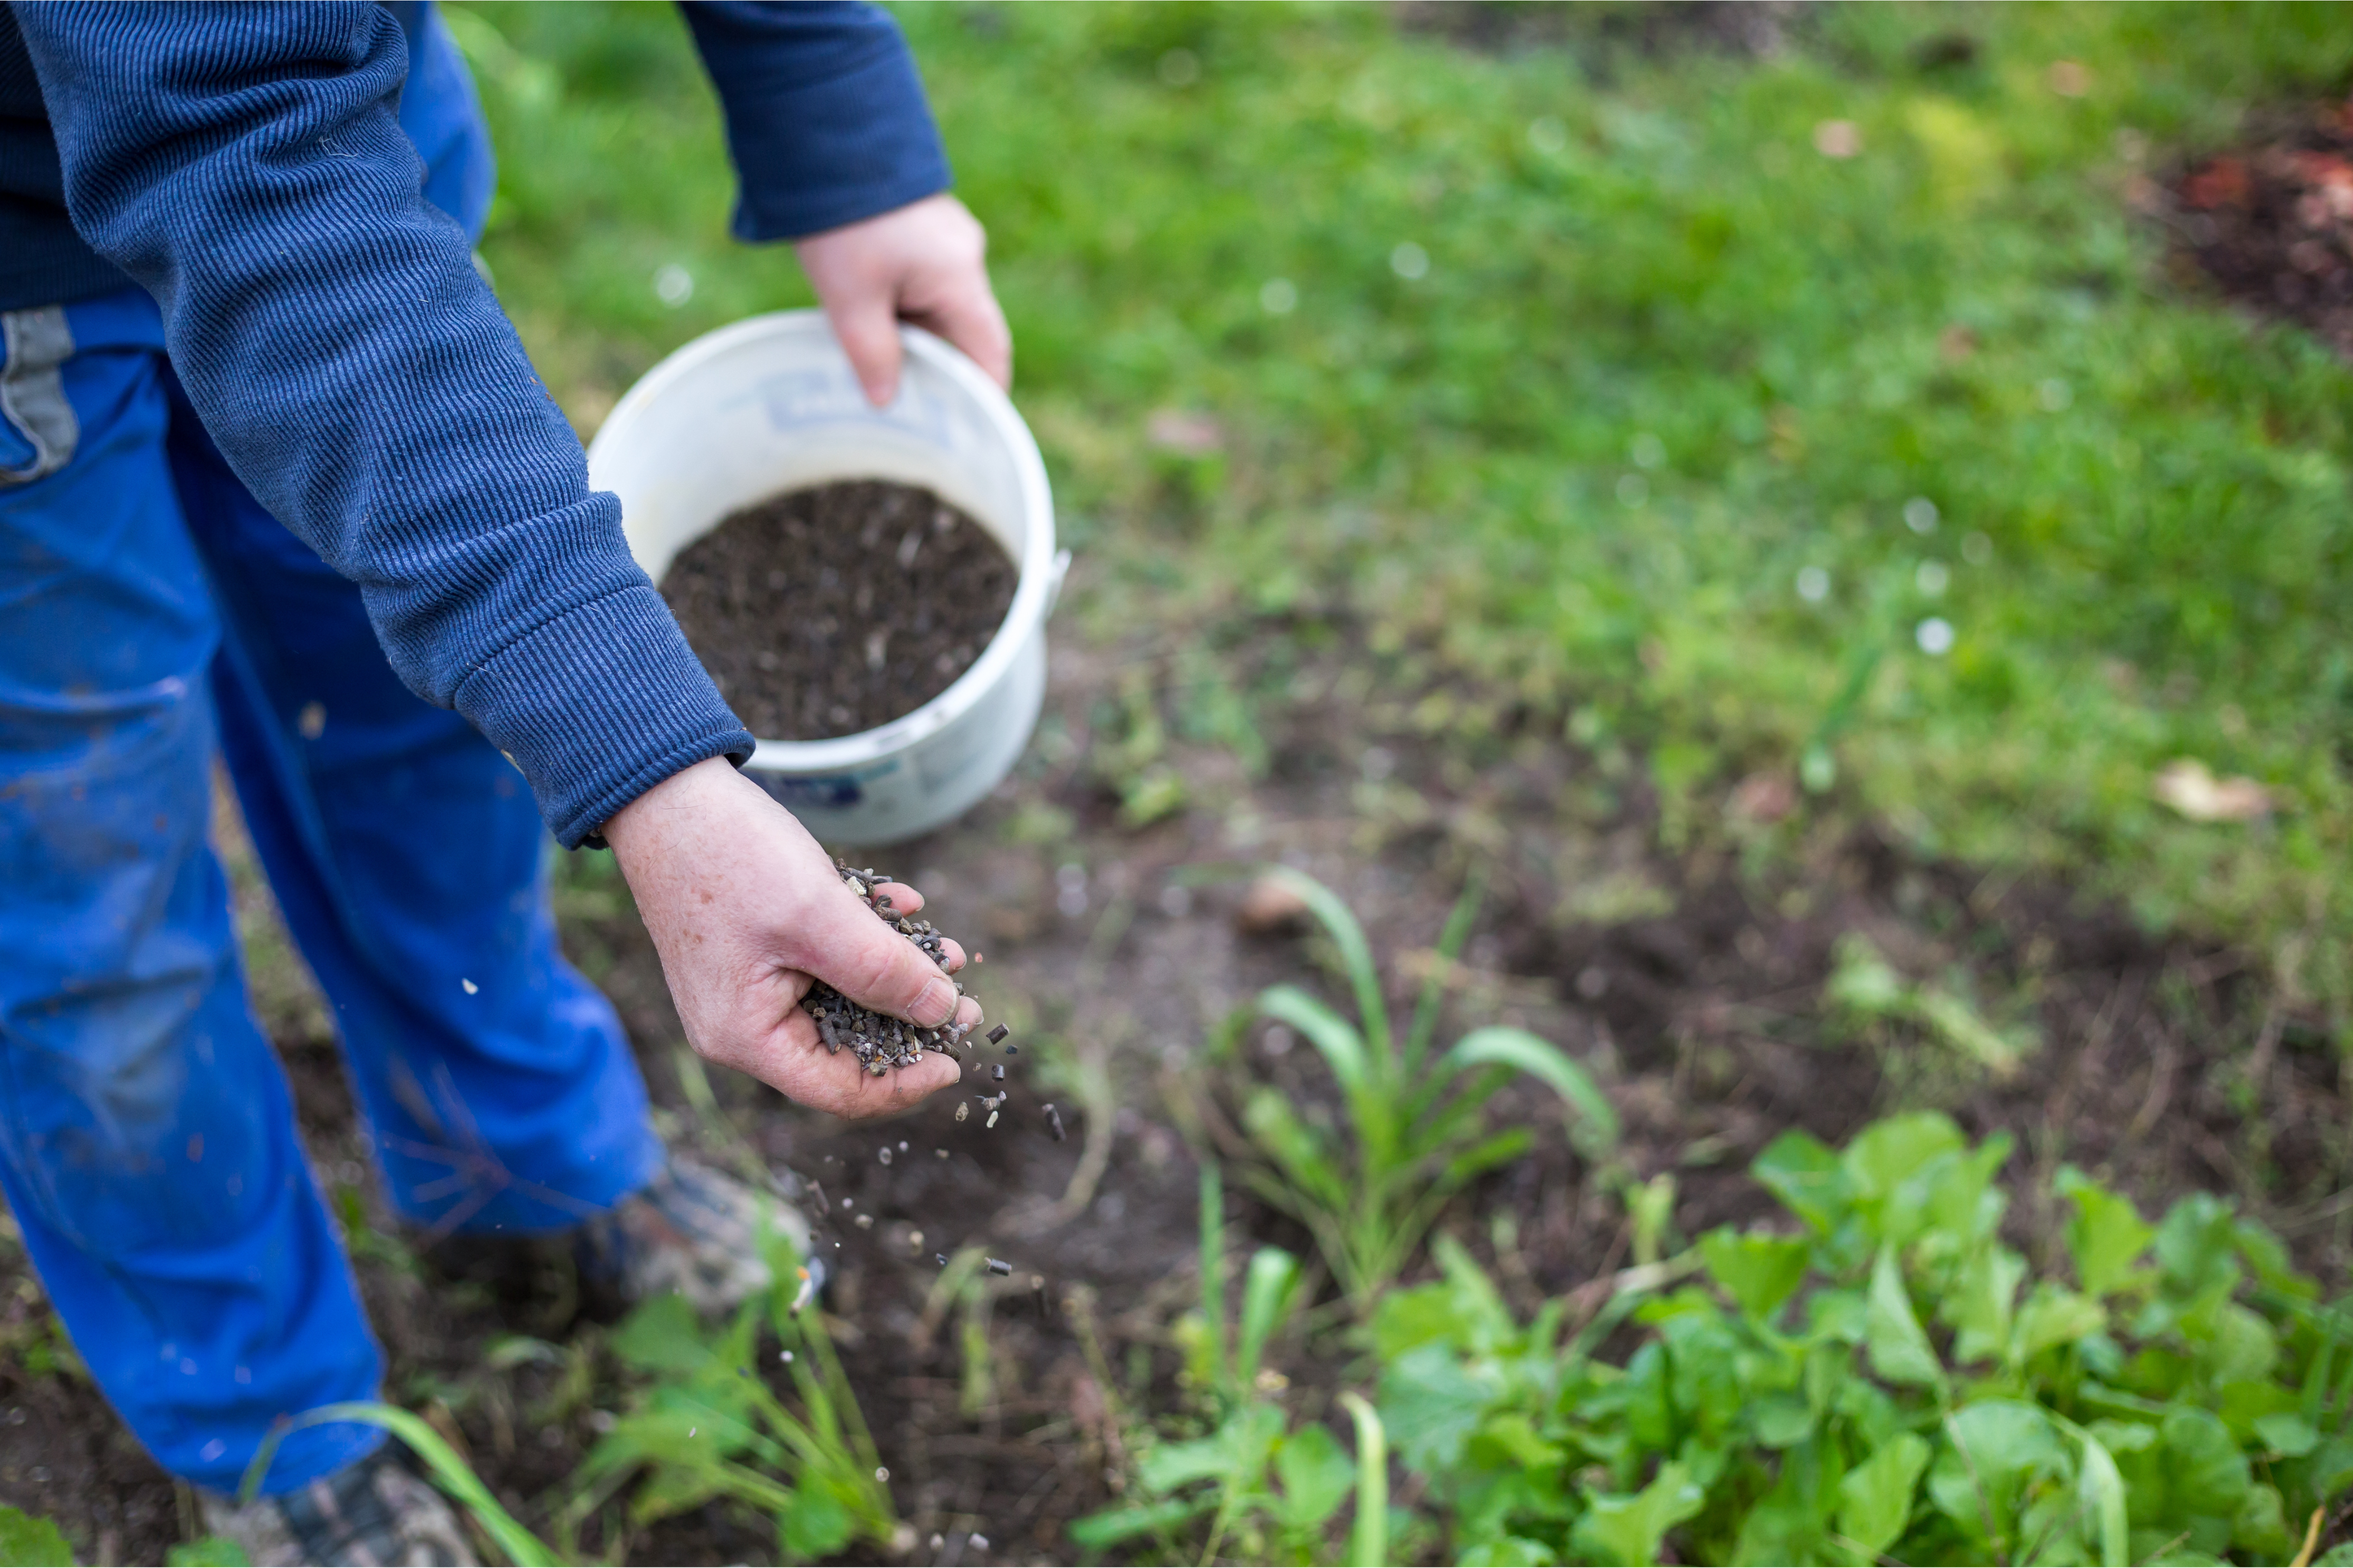
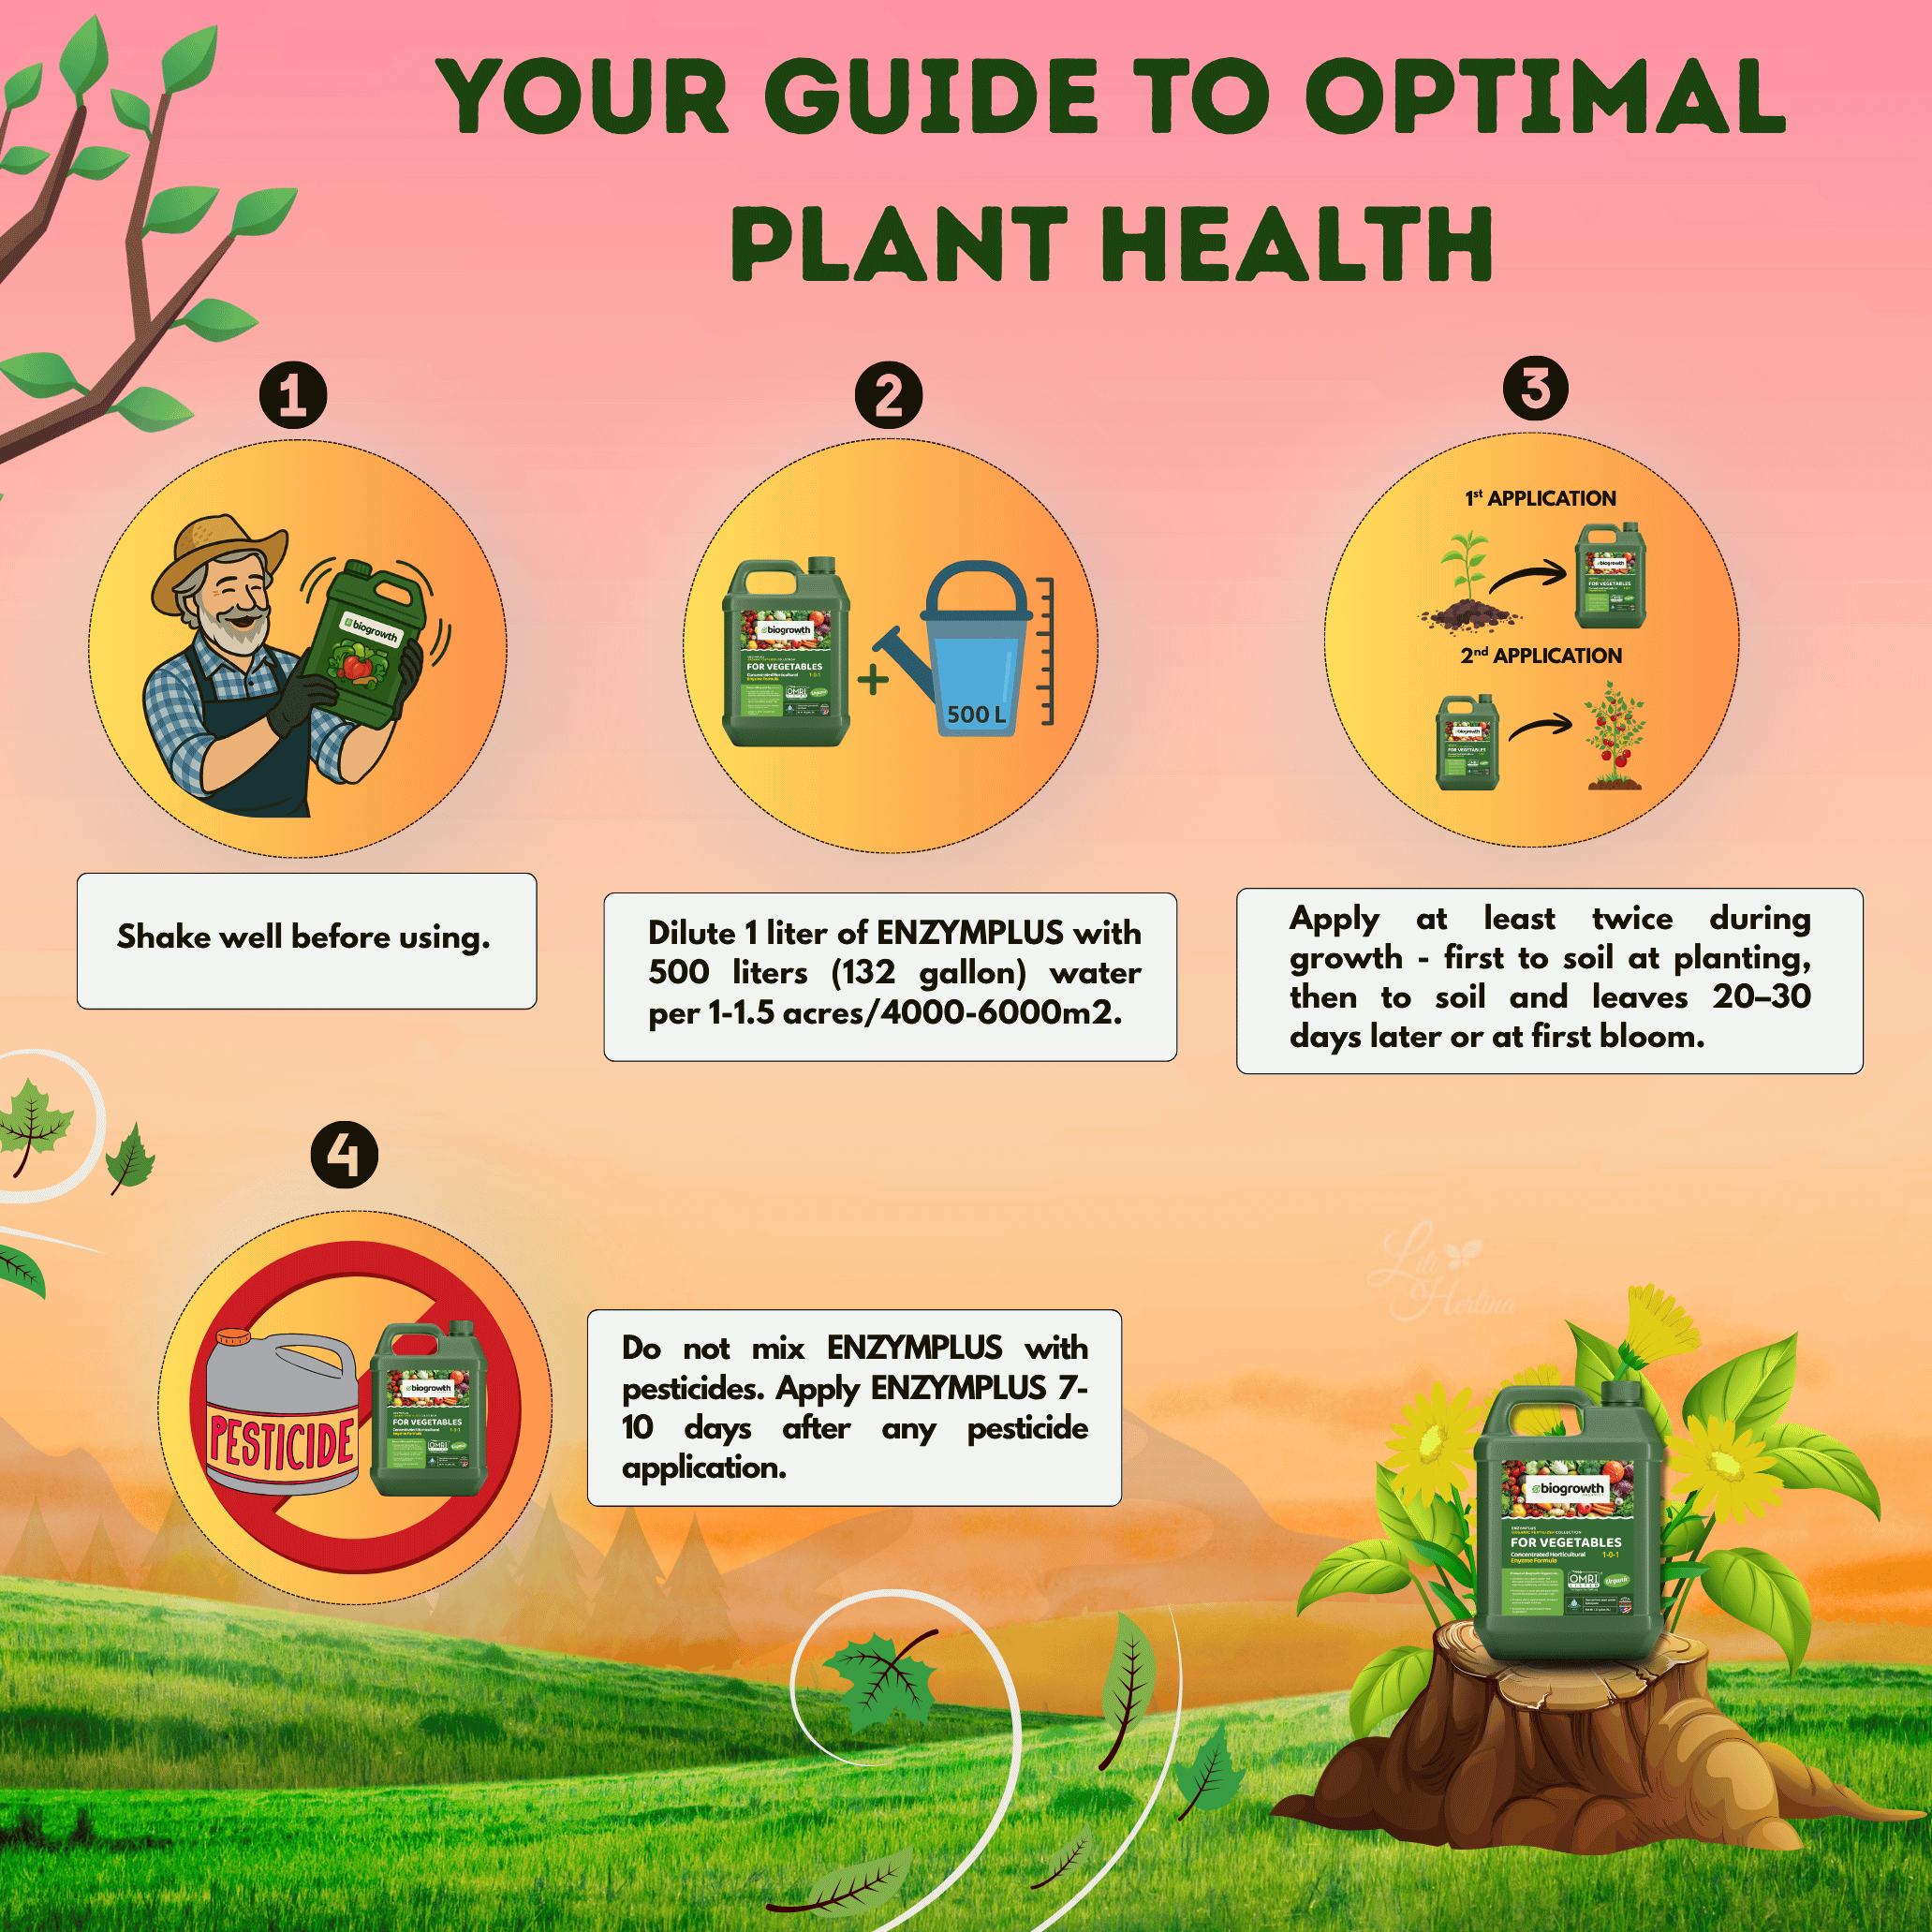
Shake Well
Shake the product well to ensure the ingredients are thoroughly mixed.
Mix with Water
Mix the suggested amount of fertilizer with water
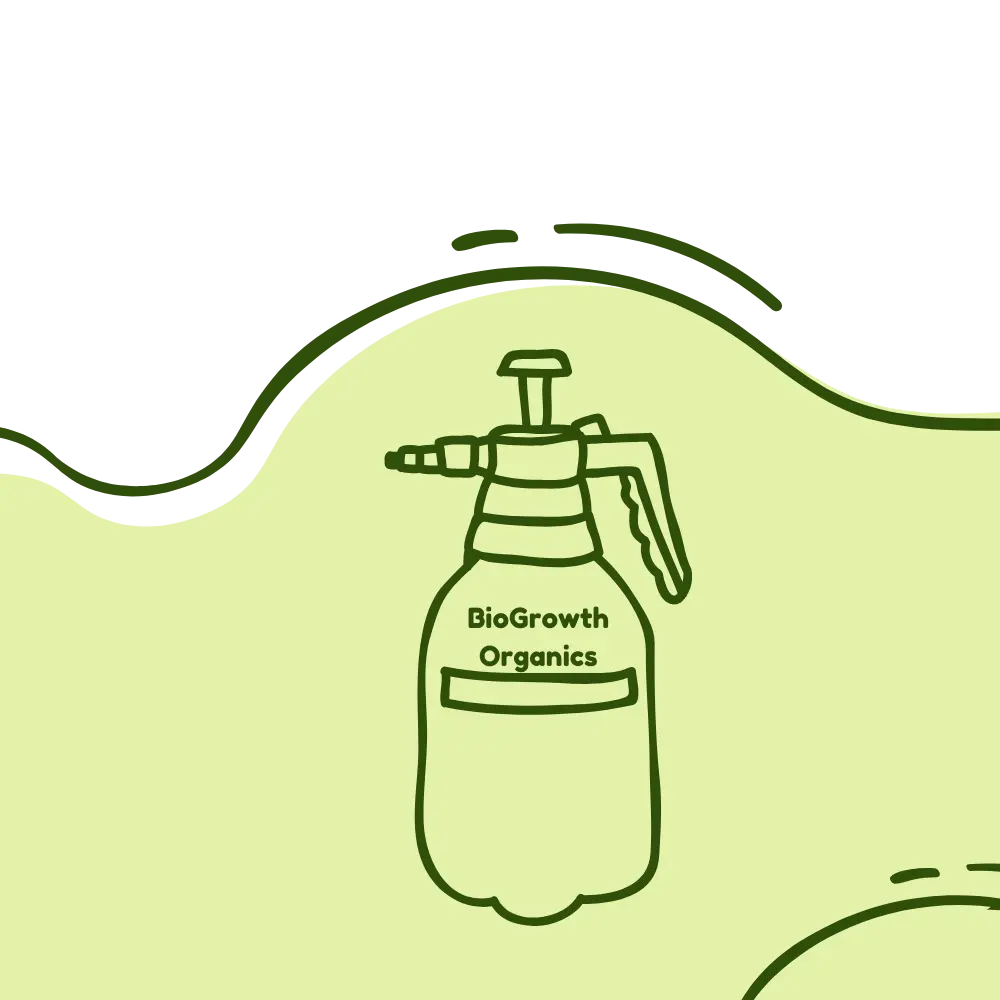
Spray and Nourish
Spray it on to soil every 10 - 14 days
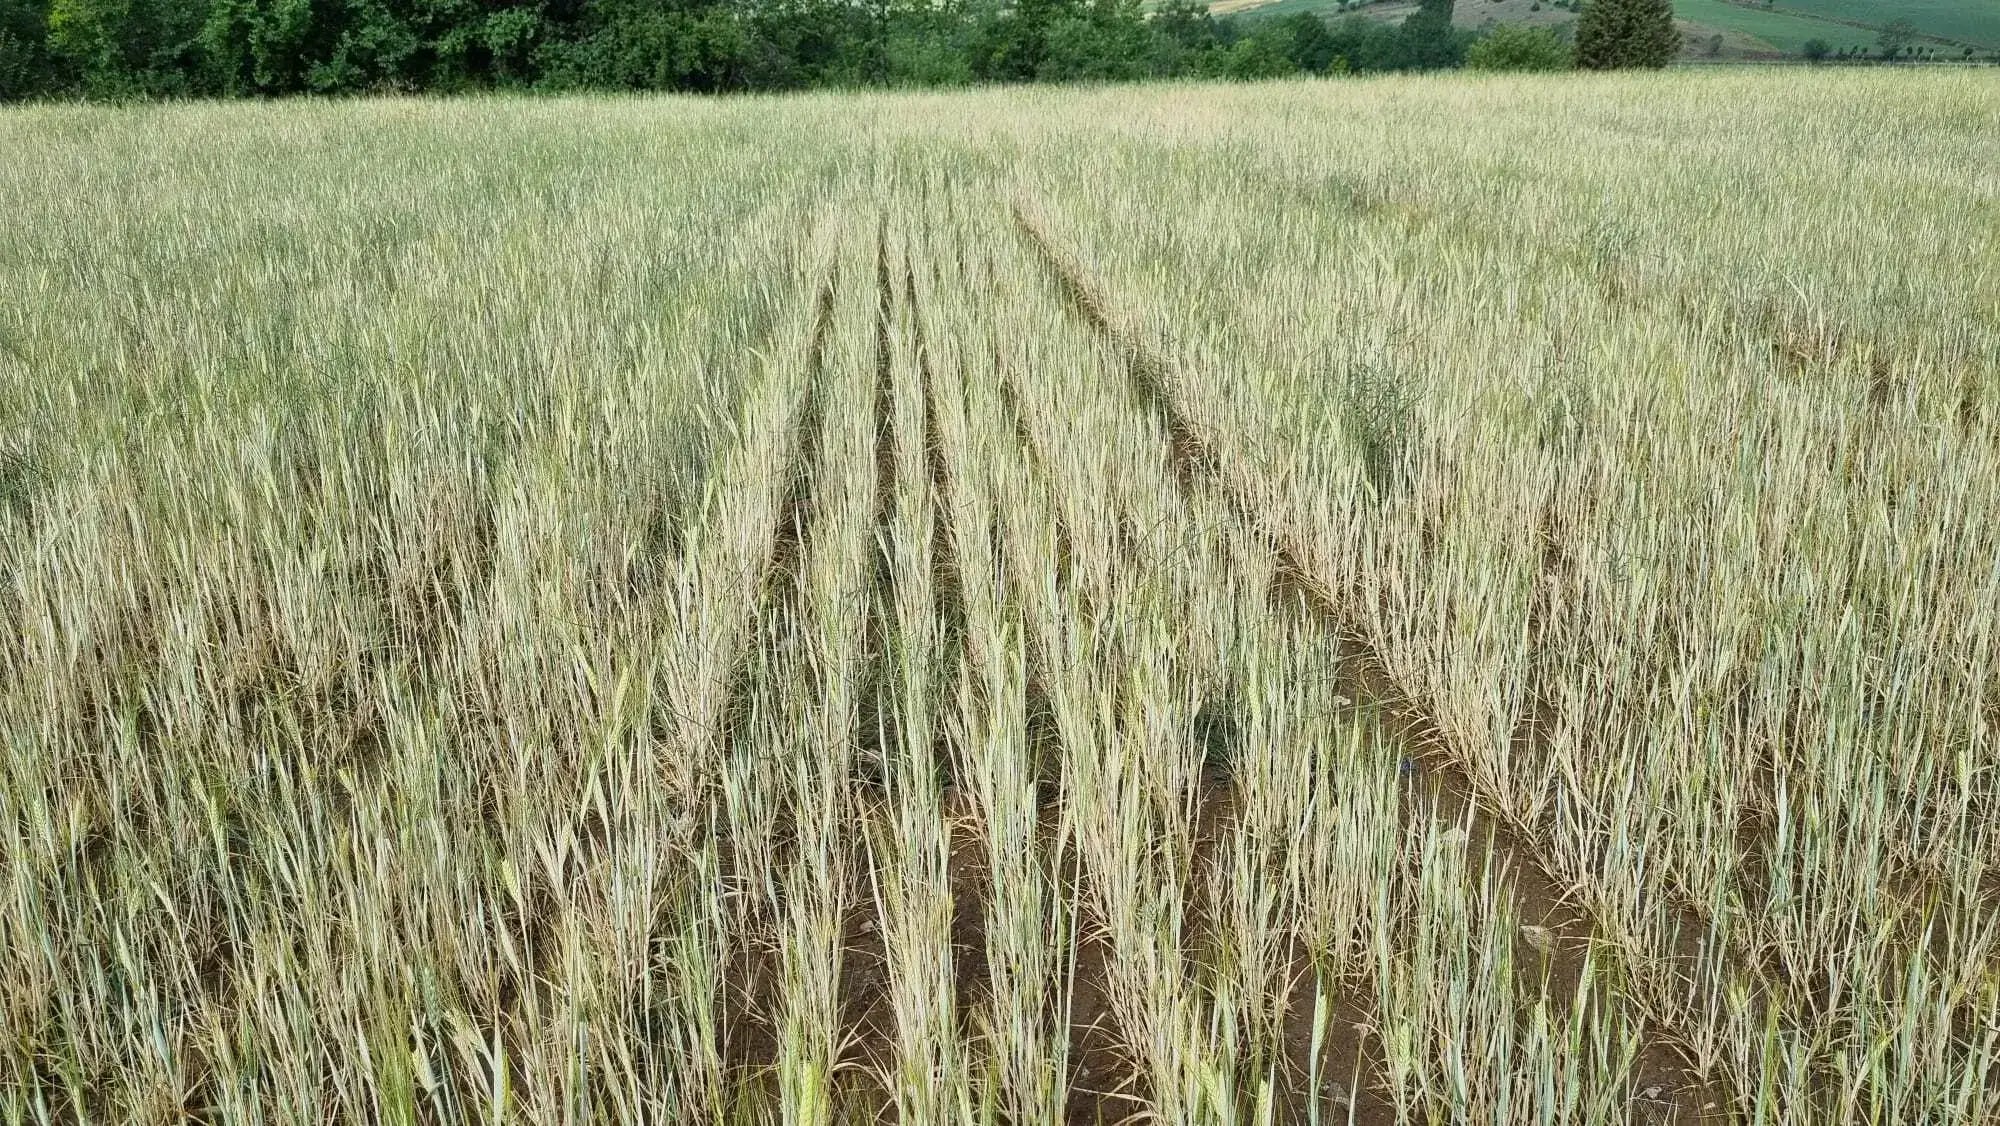
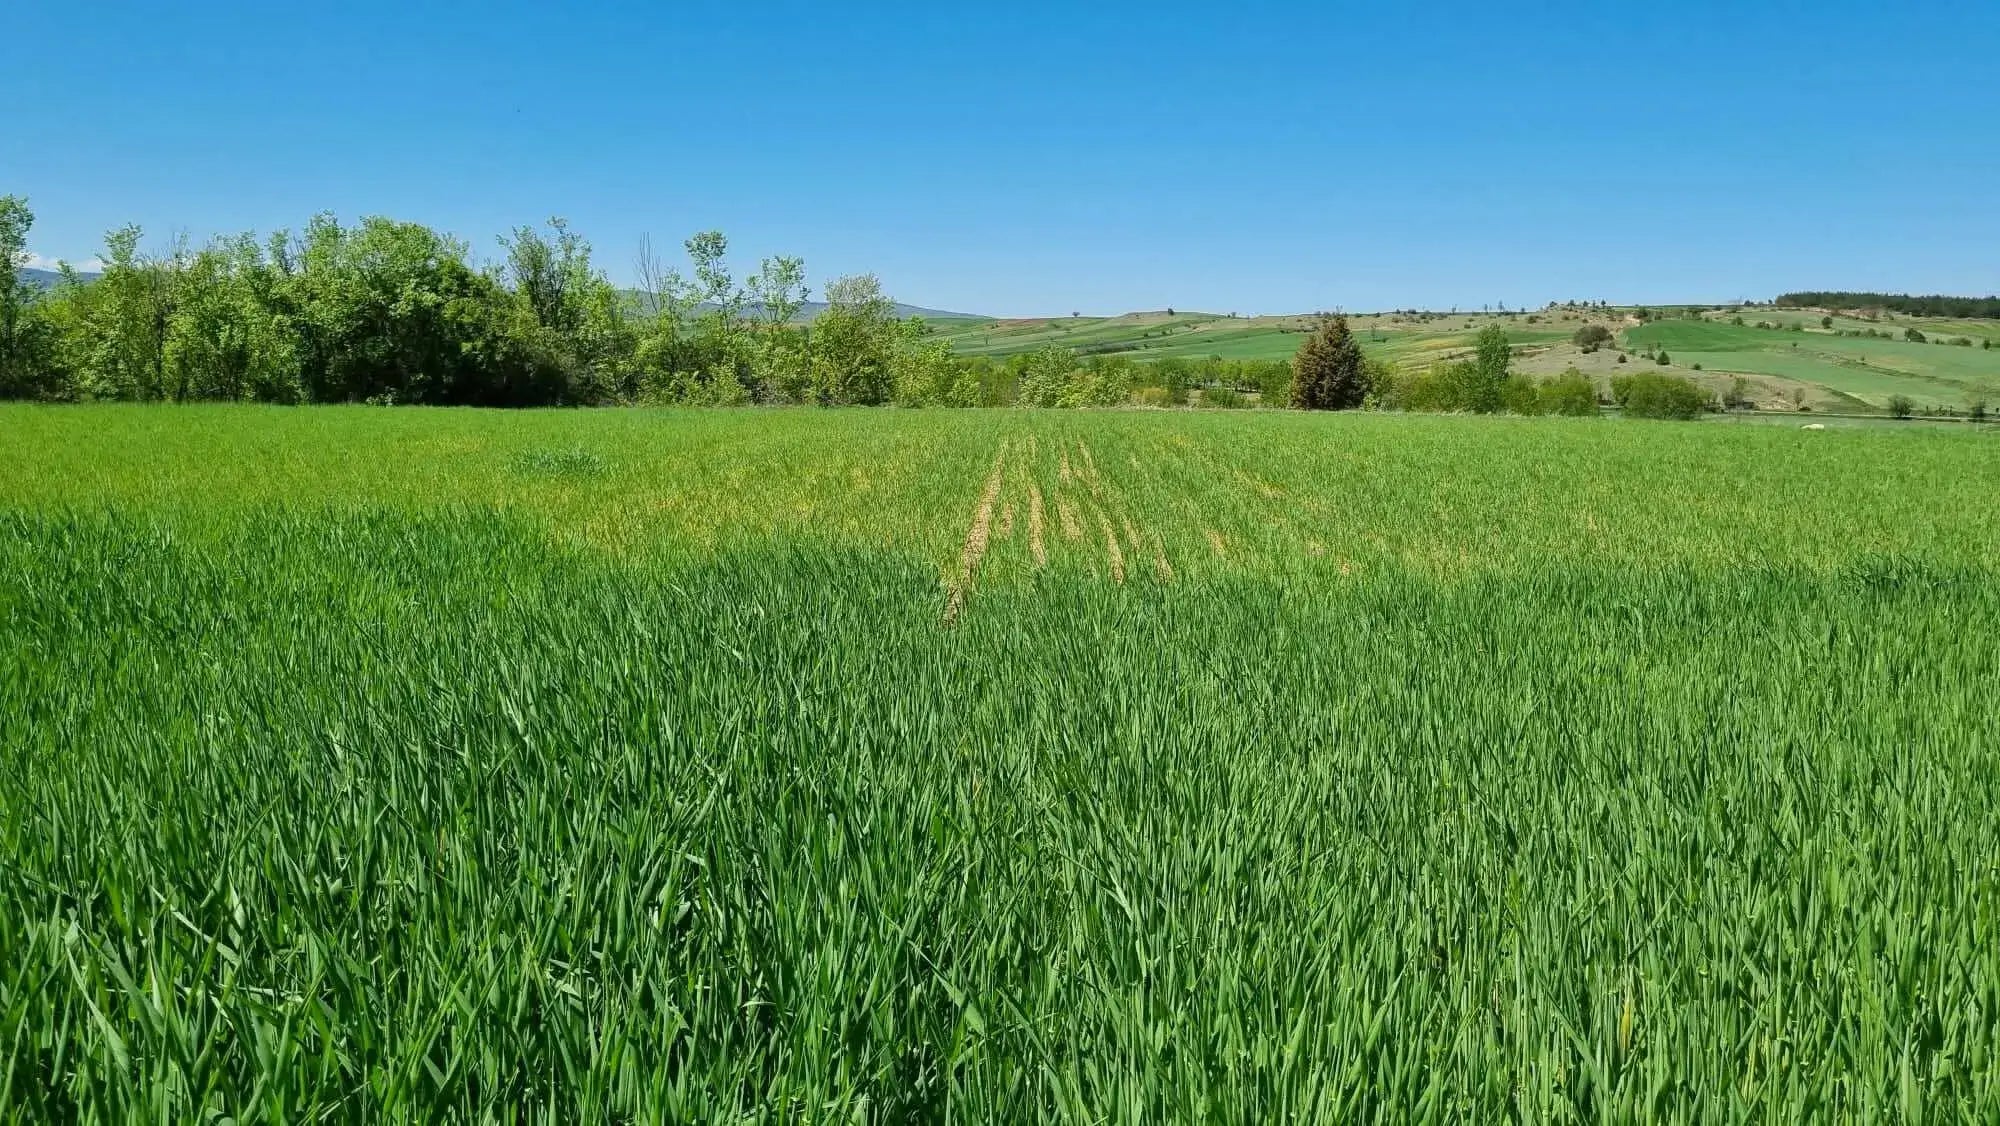
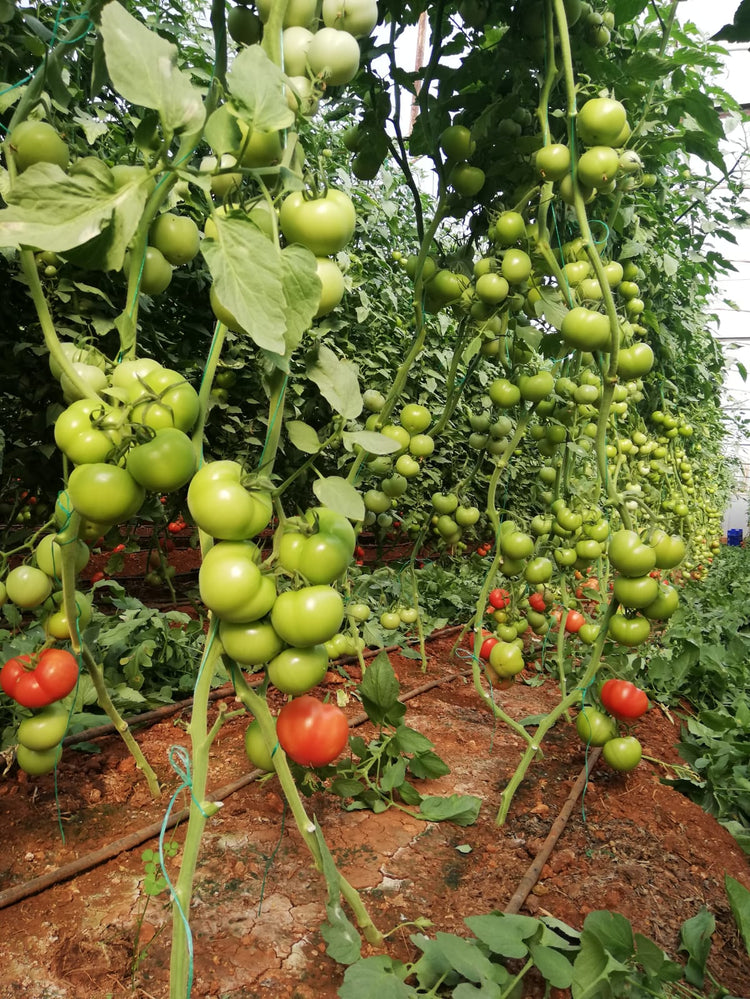
Proof in Every Leaf: BioGrowth’s Impact in Action
Cultivating a Greener Future
Driven by a passion for sustainability and innovation, BioGrowth was founded by environmentalists and scientists dedicated to creating eco-friendly solutions for healthier plants and soils.
Hear From Happy Growers
Sara
"I’ve been using Biogrowth products on my vegetable garden for two seasons now. Healthier soil, stronger plants, and no harsh chemicals. It’s made a huge difference!"
Jamal
"I was skeptical at first, but after switching to Biogrowth, my harvest was noticeably bigger and healthier."
Miguel
"Easy to apply, eco-friendly, and you can actually see the results. My tomatoes have never looked this good - and I feel good knowing it’s all organic."
Rachel
"Finally found a product that improves the soil and supports healthy growth without all the synthetic junk. Love that it’s safe for my kids and pets too."
Marcus
"No more mixing six different bottles. This one does it all. My garden’s never been happier, and neither has my schedule."
🌍The BioGrowth Difference: "A Healthier Garden, A Greener Planet"

How to Preserve Your Organic Harvest Without Chemicals: A Beginner’s Guide
There is nothing quite like walking into your garden and harvesting crisp cucumbers, plump tomatoes, and sweet berries. But as the peak growing season wraps up, many organic gardeners face the same dilemma: how do you store your harvest long-term without relying on chemical preservatives, sulfites, or artificial additives? Preserving your organic harvest naturally ensures that your food remains pure, nutrient-dense, and pesticide-free all winter long. Whether you are aiming for complete food independence or simply want to stop wasting leftover garden produce, preserving food at home is easier than you think. Here is your complete guide to chemical-free food preservation, featuring time-tested, traditional methods to keep your organic crops fresh until spring. 1. Freezing: Lock in Garden-Fresh Nutrients: Freezing is the most accessible method for home gardeners to store produce without synthetic additives. Flash-freezing helps retain high levels of vitamins and minerals compared to store-bought canned goods. Best Crops to Freeze: Berries, sweet corn, peas, green beans, spinach, kale, bell peppers, and tomatoes. The Pro-Tip (Blanching): Briefly boil your vegetables for 1–3 minutes, then plunge them into an ice bath before freezing. This stops enzyme action, locking in vibrant color, crisp texture, and nutrient value. Herbs in Oil: Chop fresh basil or parsley, pack them into ice cube trays, top with organic olive oil, and freeze. Pop a cube directly into your skillet for an instant flavor base. Gardening Connection: The key to great frozen produce starts at the roots. Feeding your crops a nutrient-rich plant food like Biogrowth Catalyst during the mid-to-late summer phase helps maximize fruit sizing and sugar content giving you tastier, firmer produce to freeze! 2. Water Bath & Pressure Canning (Without Synthetic Additives) Home canning allows you to build a shelf-stable pantry without commercial stabilizers or chemical preservatives like sodium benzoate. Water Bath Canning (High-Acid Foods) Perfect for jams, jellies, tomato sauces, and pickles. The combination of boiling temperatures and high acidity naturally destroys spoilage-causing micro-organisms. Natural Acid Sources: Always use bottled organic lemon juice or standard $5\%$ acidity vinegar to ensure safe pH levels. Pressure Canning (Low-Acid Foods) Low-acid vegetables (carrots, green beans, squash) require a pressure canner to safely reach 240*F (115*C), eliminating the risk of foodborne pathogens without adding chemicals. Note: Always follow safety-tested recipes from university extension services or trusted home-canning resources. 3. Dehydrating: Simple Moisture-Free Storage Removing water from your crops naturally inhibits bacteria and mold growth—no artificial anti-caking agents or sulfites required. What to Dehydrate: Cherry tomatoes, chili peppers, apple slices, mushrooms, and leafy herbs. Storage: Pack dried produce into airtight glass mason jars and store them in a cool, dark cabinet. Dried herbs like rosemary, thyme, and oregano will easily last 12–18 months. 4. Wild Fermentation: The Gut-Friendly Powerhouse Fermentation is one of the oldest food preservation techniques known to humankind. Instead of using artificial chemicals, lacto-fermentation relies on beneficial bacteria (Lactobacillus) naturally present on vegetable skins to preserve food and boost gut health. Popular Ferments: Sauerkraut, kimchi, lacto-fermented pickles, and garlic cloves. The Simple Formula: All you need is fresh organic produce, water, and non-iodized sea salt (avoid table salts containing anti-caking agents). 5. Traditional Root Cellaring If you don't want to deal with jars, boiling water, or electricity, root cellaring is the ultimate zero-energy storage strategy. Best Crops for Root Cellars: Potatoes, carrots, beets, winter squash, garlic, onions, and cabbage. Ideal Conditions: A dark, cool space (between 32*F and 45*F / 0*C to 7*C) with stable humidity. You can simulate a root cellar by using unheated basements, insulated garages, or buried, dark storage containers outdoors. 6. Cold Storage & Natural Pickling Hacks If you only need to extend your harvest by a few weeks or months, simple refrigeration adjustments will do the trick: Managing Ethylene Gas: Store ethylene-producing fruits (like apples and tomatoes) away from greens and carrots, as ethylene causes leafy vegetables to spoil prematurely. Natural Vinegar Pickling: Skip store-bought pickles loaded with food dyes and firming agents. Make a quick brine with water, organic apple cider vinegar, coarse sea salt, garlic, and fresh dill sprigs for crisp, tangy veggies that last for months in the fridge. Chemical Preservatives vs. Natural Preservation Methods Preservation Method Synthetic Chemicals Required? Average Shelf Life Best For Freezing (Blanched) None 8 – 12 Months Berries, Peas, Greens, Peppers Water Bath Canning None (Uses Lemon Juice/Vinegar) 12 – 18 Months Tomatoes, Jams, Fruit Spreads Dehydrating None 1 – 2 Years Herbs, Tomatoes, Apples, Chilies Lacto-Fermentation None (Uses Sea Salt) 4 – 6 Months (Refrigerated) Cabbage, Cucumbers, Carrots Root Cellaring None 2 – 6 Months Potatoes, Squash, Garlic, Onions Frequently Asked Questions 1. Why should I avoid commercial produce preservatives? Commercial preservatives like sulfites, sodium benzoate, and synthetic waxes are often applied to extend store shelf life, but they can trigger digestive sensitivities and strip away natural flavors. Natural preservation relies on temperature, acidity, salt, and moisture control instead of additives. 2. Do I need special salt for natural pickling and fermenting? Yes. Avoid standard table salt because it contains anti-caking additives and iodine, which can cloud your brine and hinder the natural fermentation process. Use pure, non-iodized sea salt or pickling salt. 3. How do I ensure my organic produce stays healthy until harvest? Successful food preservation begins in the garden! Keep your plants resilient against late-season pests and environmental stress by supporting them with organic soil builders like Biogrowth Catalyst, ensuring your harvested crops are dense, firm, and ripe for storing.
Read Blog
Urban Soil Contamination: How to Safely Grow Food and Flowers in City Spaces
Urban gardening is experiencing a massive, beautiful surge. Transforming concrete corners, vacant lots, and small city backyards into productive green patches connects us to our food and brings nature back to metropolitan landscapes. However, growing in a city brings a unique set of obstacles that rural gardeners rarely have to consider. The most critical, hidden challenge? Urban soil contamination. Whether you are designing a community plot or setting up small backyard raised beds, understanding how to identify, test for, and bypass soil toxins is essential for creating a healthy harvest. In this expert guide, we will explore the common sources of urban soil pollutants and outline step-by-step solutions to ensure your urban garden remains completely safe for your family, pets, and plants. What Causes Soil Contamination in Urban Areas? Soil contamination happens when hazardous chemicals, heavy metals, or industrial byproducts accumulate in the ground over decades. Cities change constantly; buildings rise and fall, roads widen, and manufacturing zones shift. The structural leftovers of a city's past often sit directly beneath your topsoil. The most common toxins discovered in city soils include: Lead: The most frequent urban contaminant, stemming from old lead-based paint chips, historical leaded gasoline emissions, or industrial manufacturing dust. Cadmium & Arsenic: Often left behind by historical use of toxic pesticides, industrial chemical storage, or older pressure-treated construction lumber. Petroleum Products (PAHs): Hydrocarbons that leach into the soil from heavy vehicle traffic, asphalt roads, and mechanical oils. Asbestos & Industrial Toxins: Left behind in spaces where old city buildings were demolished, renovated, or buried decades ago. Warning Signs of Compromised Soil While you cannot visually see microscopic heavy metals, keep an eye out for these localized red flags: Your plot sits directly adjacent to busy highways, active railways, or older pre-1970s structures. The earth contains visible building debris, like brick fragments, old concrete powder, or glass shards. The ground has an oily sheen or faint chemical odors when disturbed. Plants suffer from localized, unexplainable stunted growth despite proper watering and standard fertilizer applications. Step 1: Conduct a Professional Heavy Metals Soil Test Before your shovel hits the dirt, you need to establish a precise chemical baseline. A standard home test kit from a garden center will tell you your nitrogen levels, but it will not detect dangerous toxins like lead or cadmium. To get an accurate safety report: Contact a Certified Lab: Reach out to a local university agricultural extension office or an environmental testing laboratory. Request a Heavy Metals Panel: Specifically ask for a total sorbed metals test targeting lead, arsenic, and cadmium. Gather Multiple Samples: Scrape away the top layer of grass, dig down 4 to 6 inches, and take small samples from several distinct zones across your garden. Blend them together in a clean plastic container to give the lab a true average reading. Step 2: Immediate Strategies to Lower Exposure Risks If your test results come back with elevated contaminant levels, or if you simply want to minimize risk in an unverified urban area, use these immediate defense strategies 1. Shift to Elevated Raised Beds Building raised beds is the single most effective way to separate your plants from contaminated native soil. Construct your frames at least 12 to 18 inches deep. Line the absolute bottom of the frame with a heavy-duty geotextile landscape fabric. This barrier prevents your plant roots from digging down into the contaminated city dirt beneath while still allowing water to drain out perfectly. Fill your beds exclusively with verified clean, imported topsoil and organic compost. 2. Lock Up Contaminants with Organic Matter Applying high-quality organic matter binds heavy metals to soil particles, reducing their "bioavailability" (their ability to be absorbed by plants). Thick compost and humic acids create a chemical handshake that keeps toxins locked up tightly in the ground matrix. 3. Use Physical Barriers to Stop Soil Splashback Heavy metals like lead don't always move through the inside of a plant; they often stick to the outside of the leaves through airborne dust and muddy raindrops splashing off the ground. Put down a thick layer of natural wood mulch or straw over all exposed soil surfaces and walking paths to prevent contaminated dust from coating your crops. 4. Choose Lower-Risk Vegetable Varieties If you suspect minor soil contamination, adapt what you grow. Different crops absorb elements differently: Safer Choices (Fruiting Crops): Tomatoes, peppers, squash, beans, and eggplants. These plants act as a natural filter, keeping contaminants locked up in their roots and stems while keeping the edible fruit clean. Higher-Risk Choices (Leafy/Root Crops): Lettuce, spinach, kale, carrots, and radishes. Because you eat the actual leaf or root that comes into direct physical contact with the soil, these plants carry a much higher risk of transferring surface contaminants. Step 3: Long-Term Soil Remediation and Biological Support Fixing contaminated city soil permanently requires time and a deliberate focus on biology. Phytoremediation (Plant-Based Cleansing) Certain non-food plants, such as sunflowers and mustard greens, are dynamic accumulators. They actively pull heavy metals out of the earth and store them in their plant tissue. If you use this method, never compost these plants at the end of the season. They must be safely bagged and disposed of in a local landfill to permanently remove those toxins from your ecosystem. Biological Inoculation & Microbial Recovery When you bring in clean, imported topsoil for raised beds or work to lock up toxins with heavy organic amendments, you are essentially establishing a brand-new ecosystem. Because this soil lacks an established network of earthworms and beneficial bacteria, your new seedlings can struggle to find nutrients. To speed up this recovery without using synthetic chemicals that could further damage your soil's chemistry, you can introduce advanced biologicals. Incorporating an enzyme-rich liquid enhancer like Biogrowth Catalyst helps kickstart your soil's natural digestive engine. Its active enzymes break down raw organic matter and compost, turning them into bio-available forms that roots can absorb immediately. Similarly, if you are building an urban ornamental sanctuary or trying to restore a patch of city turf, adding an organic, vitamin-infused formula like Biogrowth Vivid introduces humic and fulvic acids. These elements naturally bind to the soil, improving structure, buffering pH, and ensuring your landscape stays resilient against city heatwaves and urban environmental stress. Step 4: Adopt Safe Urban Gardening Habits Every urban grower should practice a few clean hygiene habits to prevent accidental exposure: Always wash all harvested garden vegetables thoroughly with clean water before eating. Peel all root vegetables to remove the outer skin where soil particles stick. Wear dedicated gardening gloves and wash your hands thoroughly after working in the dirt. Leave your gardening shoes at the door to avoid tracking urban soil dust across your carpets and floors. Keep young children and pets from digging or playing directly in unverified native city soil. Urban cultivation is an incredibly rewarding journey. By running a professional soil test, lifting your root systems into clean raised beds, and using premium organic bio-stimulants to nurture your soil's biology, you can easily grow a safe, thriving, and abundant oasis right in the middle of the city. Frequently Asked Questions Q: Can I use a regular home DIY test kit to check my city soil for lead? No. Cheap color-changing DIY kits or digital probes found at local nurseries are only designed to measure basic macronutrients (Nitrogen, Phosphorus, Potassium) and pH levels. They cannot detect heavy metals, petroleum, or chemical toxins. You must send your core samples to a certified laboratory or university extension office for a heavy metals analysis. Q: If my urban soil tests high for lead, is it safe to grow fruit trees? Yes, generally fruit trees are considered low-risk. Heavy metals like lead are not easily transported into the actual wood, flowers, or fruit of a tree; instead, they stay heavily concentrated in the root system. As long as you thoroughly wash the outside of the fruit to remove any windblown urban dust, apples, pears, peaches, and figs grown in city plots are safe to consume. Q: How thick should the landscape fabric barrier be under my raised beds? Use a heavy-duty, commercial-grade woven landscape fabric or a thick geotextile weed barrier. Avoid thin plastic sheets, as they will trap water and rot your plant roots. A thick, porous fabric allows water to drain out into the lower earth perfectly while physically stopping your vegetable roots from traveling downward into the contaminated native soil layer. Q: Does washing vegetables with vinegar remove heavy metals? Vinegar is excellent for killing surface bacteria and dislodging stuck-on dirt clods, but it cannot chemically neutralize or "wash away" heavy metals that have been absorbed inside a plant tissue. This is why prevention is so important - focus on growing fruiting crops and using clean, imported soil to ensure toxins never enter your food in the first place. Q: Can I use charcoal or wood ash to clean up contaminated urban soil? Specialized biochar can help lock up certain heavy metals and reduce their availability to plants, but standard household wood ash from a fireplace will not clean your soil. In fact, adding too much wood ash will drastically spike your soil's pH, making it highly alkaline and causing severe nutrient lockout. Always consult a soil specialist before adding heavy mineral amendments to contaminated sites.
Read Blog
Soil Solarization: The Ultimate Chemical-Free Way to Kill Garden Weeds and Pests
Preparing a clean, productive garden bed can feel like an endless battle against invasive weeds, stubborn insect larvae, and destructive soil-borne diseases. While commercial agriculture often turns to harsh synthetic fumigants and chemical weed killers, home gardeners are looking for safer, eco-friendly alternatives. Enter soil solarization, a powerful, completely natural technique that uses nothing more than sunlight, moisture, and a sheet of clear plastic to sanitize your garden beds. By harnessing solar energy, this method creates a localized greenhouse effect that bakes the top layers of earth, destroying pests, weed seeds, and fungal pathogens without leaving a single drop of chemical residue behind. If you are ready to give your garden a clean slate before your next planting cycle, here is everything you need to know about mastering soil solarization. What Is Soil Solarization and How Does It Work? Soil solarization is a hydrothermal process of soil disinfestation. Instead of poisoning unwanted organisms, it utilizes extreme thermal heat to eliminate them. The science behind it is elegantly simple: [ Deep Soil Moisture ] + [ Tightly Sealed Clear Plastic ] + [ Intense Mid-Summer Sun ] = Hydrothermal Thermal Death Zone (110°F–140°F) Moisture Facilitates Heat Transfer: Water is added to the soil because wet soil conducts heat far more efficiently than dry soil. Moisture also wakes up dormant weed seeds and pests, making them highly vulnerable to thermal damage. The Clear Plastic Greenhouse Effect: Covering the damp ground with clear plastic allows solar radiation to pass through freely. The plastic then traps that energy, preventing the heat from escaping back into the atmosphere. The Cooking Phase: Over the course of several weeks, temperatures at a depth of 6 inches beneath the plastic can reach a blistering 110°F to 140°C (43°C to 60°C). This extreme heat physically denatures the proteins in harmful organisms, leading to thermal death. Clear Plastic vs. Black Plastic: The Critical Difference A common beginner mistake is using black plastic sheeting. While black plastic absorbs heat and gets very hot to the touch, it actually deflects a large portion of the sun’s rays, preventing the heat from penetrating deeply into the soil profile. Clear plastic acts like a greenhouse trap, driving the heat deep down into the root zone where pests hide. What Can You Control Using Solar Energy? When properly executed, soil solarization acts as a broad-spectrum reset button for your garden plot. It significantly reduces or completely eradicates: Invasive Weeds: It easily bakes annual weed seeds like crabgrass, pigweed, and purslane. Microscopic Root Nematodes: It eliminates root-knot nematodes that cause stunted growth and yellowing leaves. Soil-Borne Fungal Diseases: It destroys common wilt-causing fungi, including Verticillium, Fusarium, and Pythium. Overwintering Insect Pests: It cooks grubs, larvae, pupae, and insect eggs dwelling in the top few inches of your garden beds. Important Ecological Note: Because thermal heat is non-selective, solarization will temporarily reduce the population of beneficial earthworms and microbes in the top layer of your soil. Don't worry, the worms will burrow deeper to escape the heat, and the microscopic biology will rapidly bounce back once the plastic is removed. Step-by-Step Guide: How to Solarize Your Garden Soil To maximize your success, timing and execution are everything. Follow these steps to solarize your soil correctly: Step 1: Time It Perfectly with the Summer Solstice Solarization relies entirely on intense, ambient heat. The ideal window to execute this process is from late spring through mid-summer (June, July, and August), when daylight hours are longest and the sun sits directly overhead. Step 2: Prep and Level the Bed Clear the target area of any large debris, rocks, and mature weeds. Till the soil deeply to loosen it up. A smooth, flat surface is essential because it allows the plastic sheet to lay perfectly flat against the dirt, eliminating cold air pockets. Step 3: Water the Area Deeply Run a sprinkler or soaking hose over the prepped bed until the soil is saturated at least 12 inches deep. Remember: dry soil will not retain enough heat to sanitize your bed effectively. Step 4: Stretch and Seal the Clear Plastic Lay a UV-stabilized clear plastic sheet (ideally between 1 to 4 mils thick) over the damp, flat soil. Stretch it as tightly as a drum. Immediately bury all four edges of the plastic under a heavy layer of dirt, bricks, or landscape staples. There must be zero air leaks, or the trapped heat will escape. Step 5: Let It Cook for 4 to 8 Weeks Leave the plastic completely undisturbed for a minimum of 4 weeks (up to 8 weeks if you live in a cooler, windier climate). The heat buildup is cumulative, so resist the urge to peel back the plastic to check on the progress. Post-Solarization: How to Re-Energize Your Living Soil Once your 6-to-8-week solar oven cycle is complete, carefully peel away the plastic sheet and let the ground cool completely. Because the top few inches of your soil are now sterile, you must re-introduce beneficial biology before planting your autumn vegetables or cover crops. Instead of turning to chemical fertilizers which can easily shock the fragile ecosystem, the best approach is to rebuild the root zone organically. Top-dress your fresh garden beds with a generous layer of organic compost or earthworm castings. To accelerate this biological recovery, apply an enzyme-driven root stimulator like Biogrowth Catalyst. The active enzymes in the formula act as a natural digestive system for the soil, quickly breaking down the cooked organic matter left behind by dead weeds and turning it into bio-available nutrients for your new plants. By actively re-inoculating the soil, you ensure your new root systems are protected, fully nourished, and supported by vibrant, living biology from day one. To learn more about sustaining this natural ecosystem year-round, review our guide on what organic gardening really means to keep your landscape completely chemical-free. A Fresh, Sustainable Start Soil solarization proves that you don't need a cabinet full of chemical weed killers to maintain a pristine, high-yielding garden. By coordinating your schedule with the peak of summer and letting the sun do the heavy lifting, you can purge your soil of pests and diseases naturally. Combine this hydrothermal reset with high-quality organic bio-stimulants, and you will set your garden up for its healthiest, most abundant harvest yet. Frequently Asked Questions 1. Can I use old painter's plastic tarps for soil solarization? While you can use them, standard household painter's plastic lacks UV stabilizers. Under intense mid-summer sunlight, cheap plastic will rapidly degrade, become brittle, and shatter into thousands of tiny pieces within 2 to 3 weeks, ruining your solarization project. It is always best to buy heavy-duty, UV-stabilized clear polyethylene plastic designed for agricultural use. 2. Does soil solarization kill beneficial earthworms? No, it rarely harms earthworms. Because the soil temperature rises gradually over several days, earthworms sense the shifting heat and naturally tunnel much deeper into the cool, lower profiles of the earth to escape the thermal zone. Once you remove the plastic and cool the beds down, the worms will return to the surface. 3. Will soil solarization eliminate deep-rooted perennial weeds like dandelions or bindweed? Solarization is highly effective against annual weeds and seeds located in the top 6 inches of soil. However, deep-rooted perennial weeds with established, mature taproot systems (like field bindweed or Canada thistle) may survive the heat because their roots extend below the thermal reach of the plastic. Supplemental hand-pulling or organic mulching may still be required for these specific varieties. 4. Can I use soil solarization in a shaded backyard or during the cloudy fall months? Soil solarization requires full, direct sunlight for at least 6 to 8 hours a day to push soil temperatures past the necessary 110*F threshold. If your garden plot is heavily shaded by trees or structures, or if you attempt this during cloudy autumn weather, the soil will not reach a high enough temperature to kill off pests and weed seeds effectively. 5. Should I till my garden beds again immediately after removing the plastic? No, you should avoid deep tilling after solarization. Tilling deeply will turn over the soil and bring old, un-cooked weed seeds from deep underground right back up to the surface, completely defeating the purpose of the solarization. Instead, simply rake the top surface smooth, add your compost, and plant directly into the clean layer.
Read Blog