Why Choose Biogrowth Organics for Your Gardening Needs?


Science-Backed Nutrients for Your Greenest Garden Yet
Lab tested formulas that fuel growth, enhance soil and deliver unmatched results naturally


Vivid Liquid Organic Plant Vitamin for Flowers & Lawns


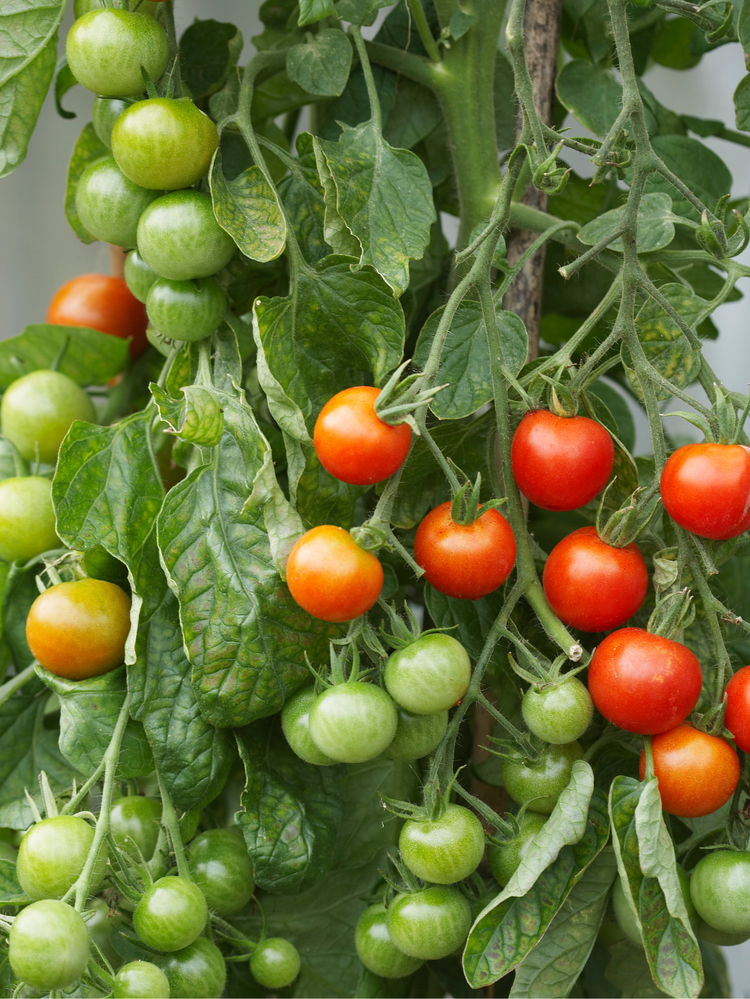
Catalyst Liquid Organic Plant Vitamin for Veggies & Fruits


Thrive Liquid Organic Plant Vitamin for Cannabis

Why BioGrowth?
Revolutionizes plant care with cutting edge enzyme technology and microbial solutions that enrich soil, strengthen plants, and promote long-term sustainability. Whether you're an experienced farmer or a first-time gardener, BioGrowth simplifies the growing process of eliminating guesswork and reducing reliance on synthetic fertilizers and pesticides.
100% Organic & Eco-Friendly
100% Organic & Eco-Friendly
Made from natural, sustainable ingredients, BioGrowth nurtures plants while protecting the environment. It enhances biodiversity and soil fertility without harmful chemicals.
Science-Backed, No Guesswork Required
Science-Backed, No Guesswork Required
Powered by advanced enzyme technology and microbial blends, BioGrowth supercharges soil health and plant resilience. Yet, it’s designed for ease: no PhD required. Replace fertilizers, pesticides and boosters with one foolproof solution.
One Stop Solution, Every Gardener's Goal
One Stop Solution, Every Gardener's Goal
Forget juggling with multiple products. BioGrowth is a one-stop solution that supports plants at every stage making plant care simple, effective and accessible for growers of all levels.
Why We Stand Out ?
Why We Stand Out ?
“Empower Your Green Thumb, From Hobbyist to Pro." BioGrowth democratizes professional grade agricultural technology, making advanced gardening practices accessible to non professionals while enhancing efficacy and sustainability for seasoned growers.
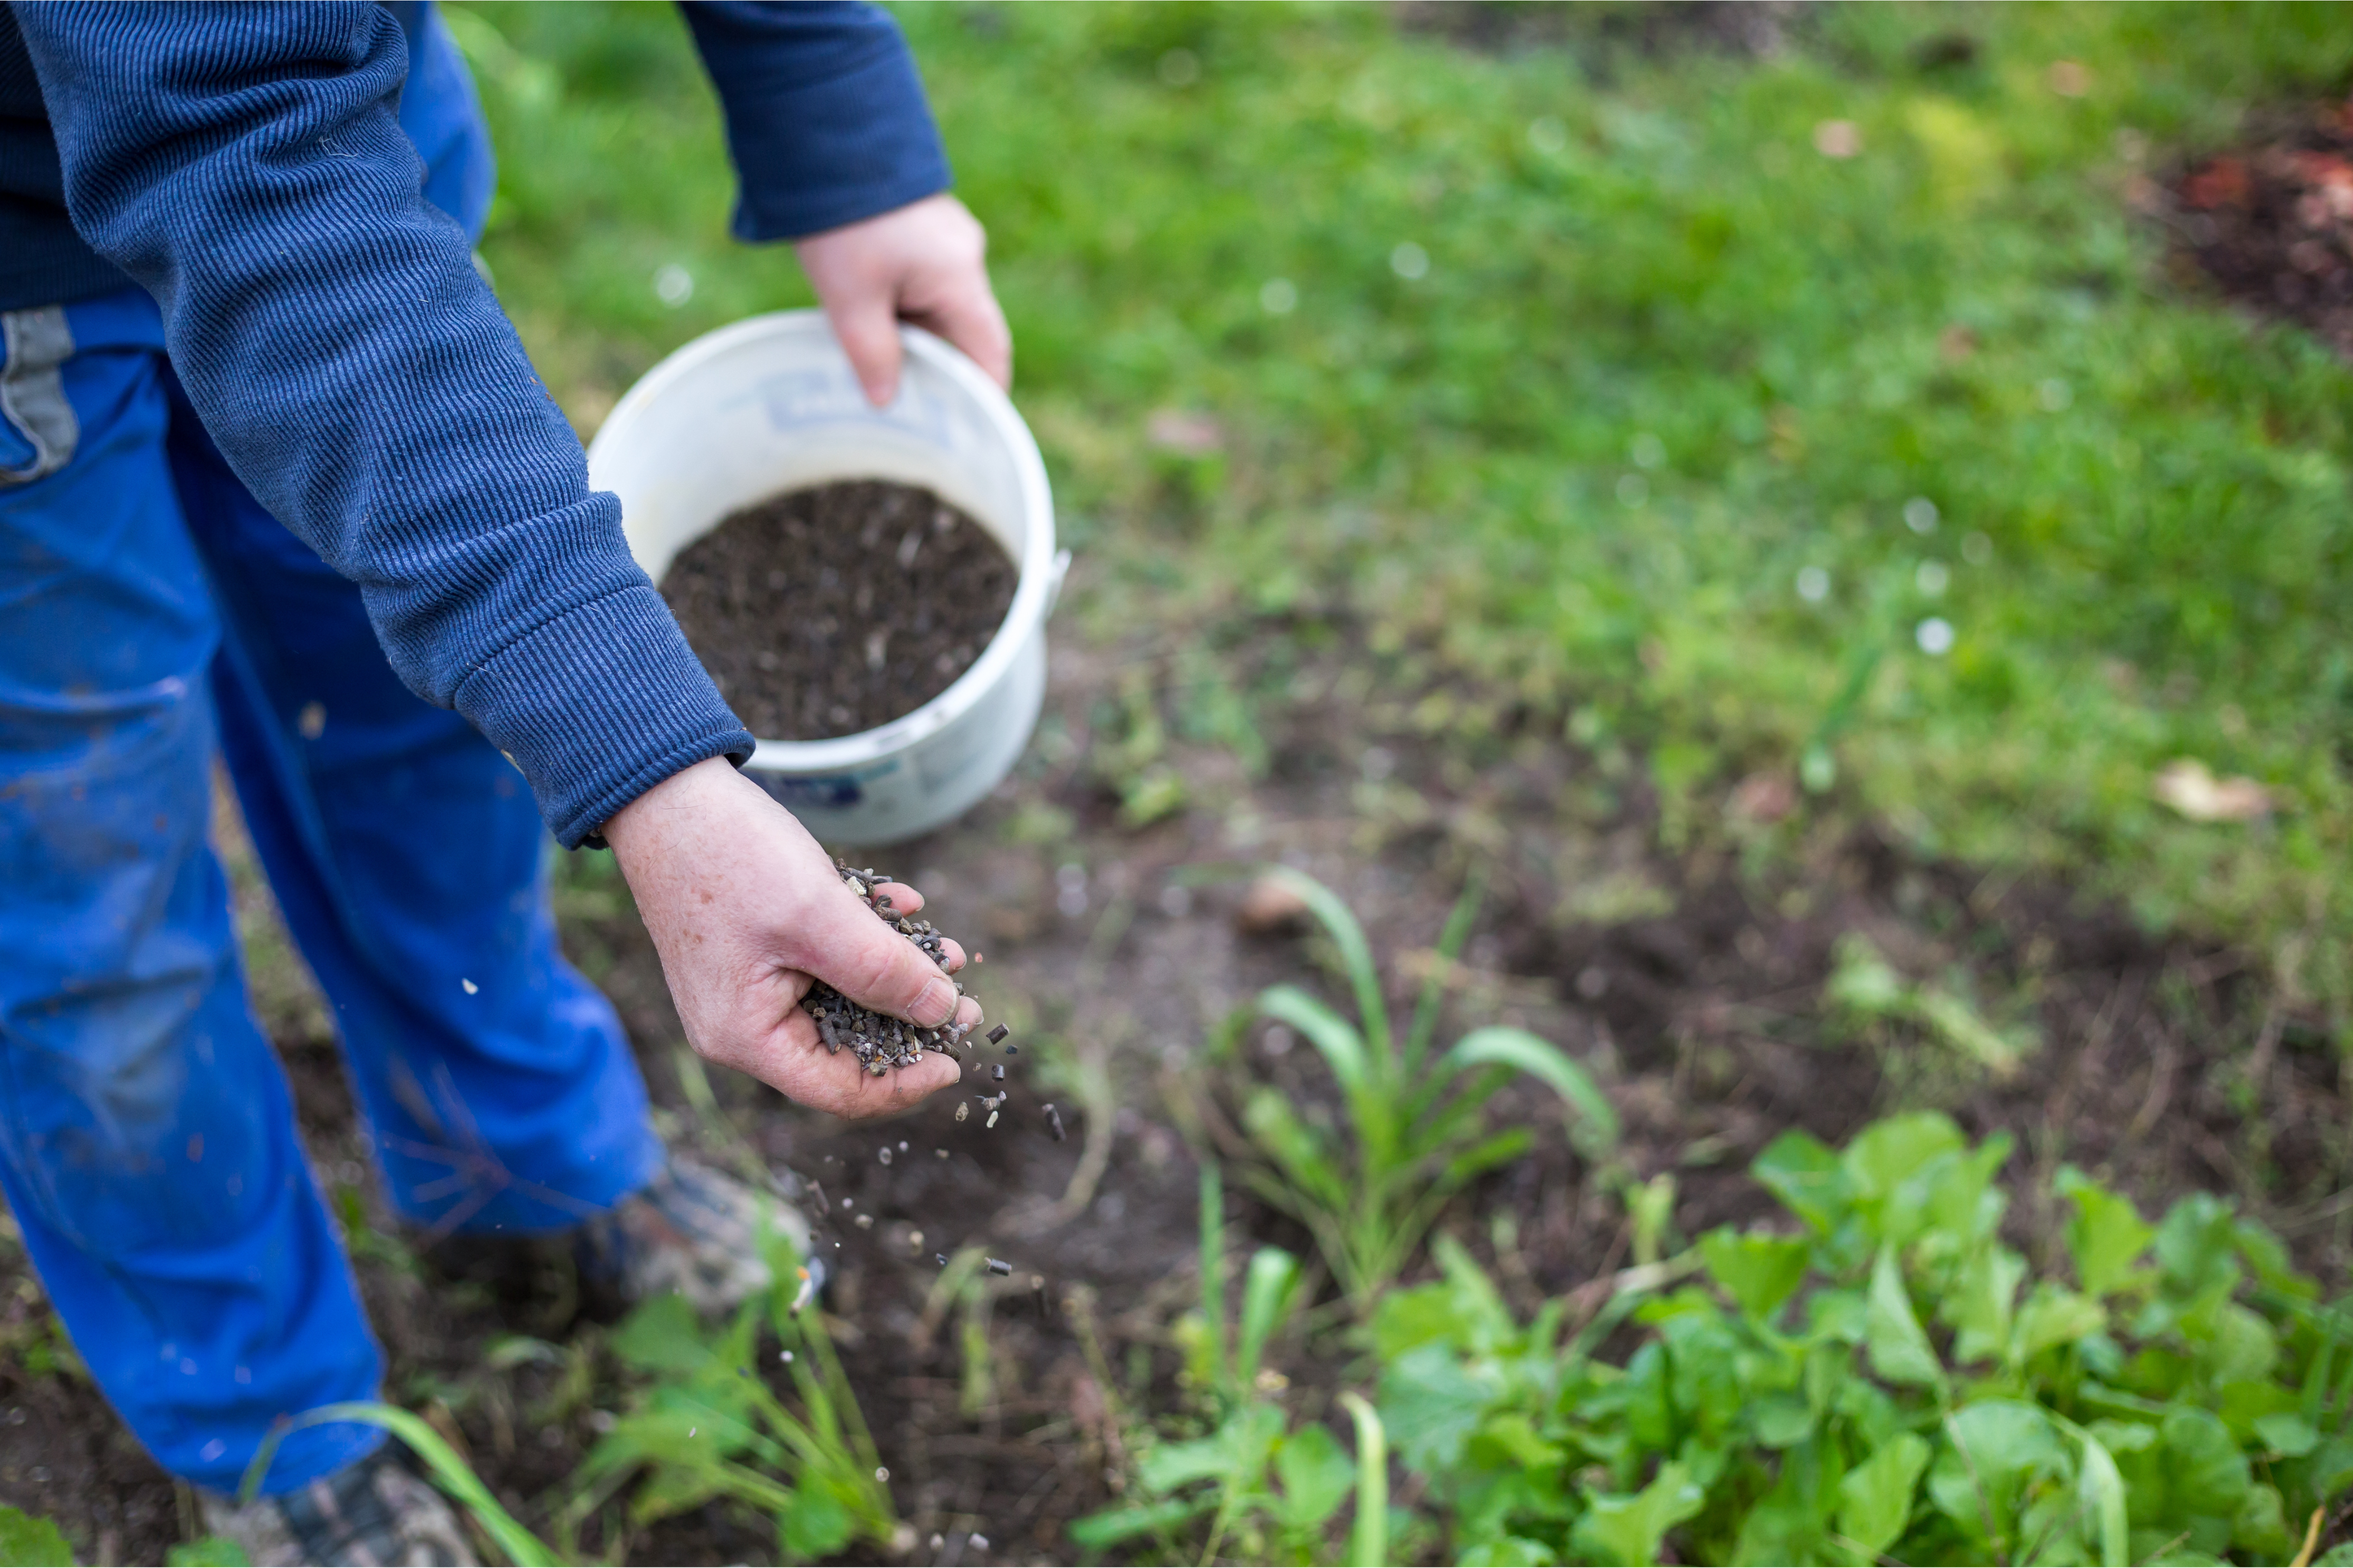
Easy to Use. Minimal Effort, Maximum Growth.
Effortlessly enhances plant health with BioGrowth’s nutrient rich, easy to use formula. Our organic blend enriches the soil, fortifies roots, and supports sustainable growth, simplifying gardening while keeping it greener!
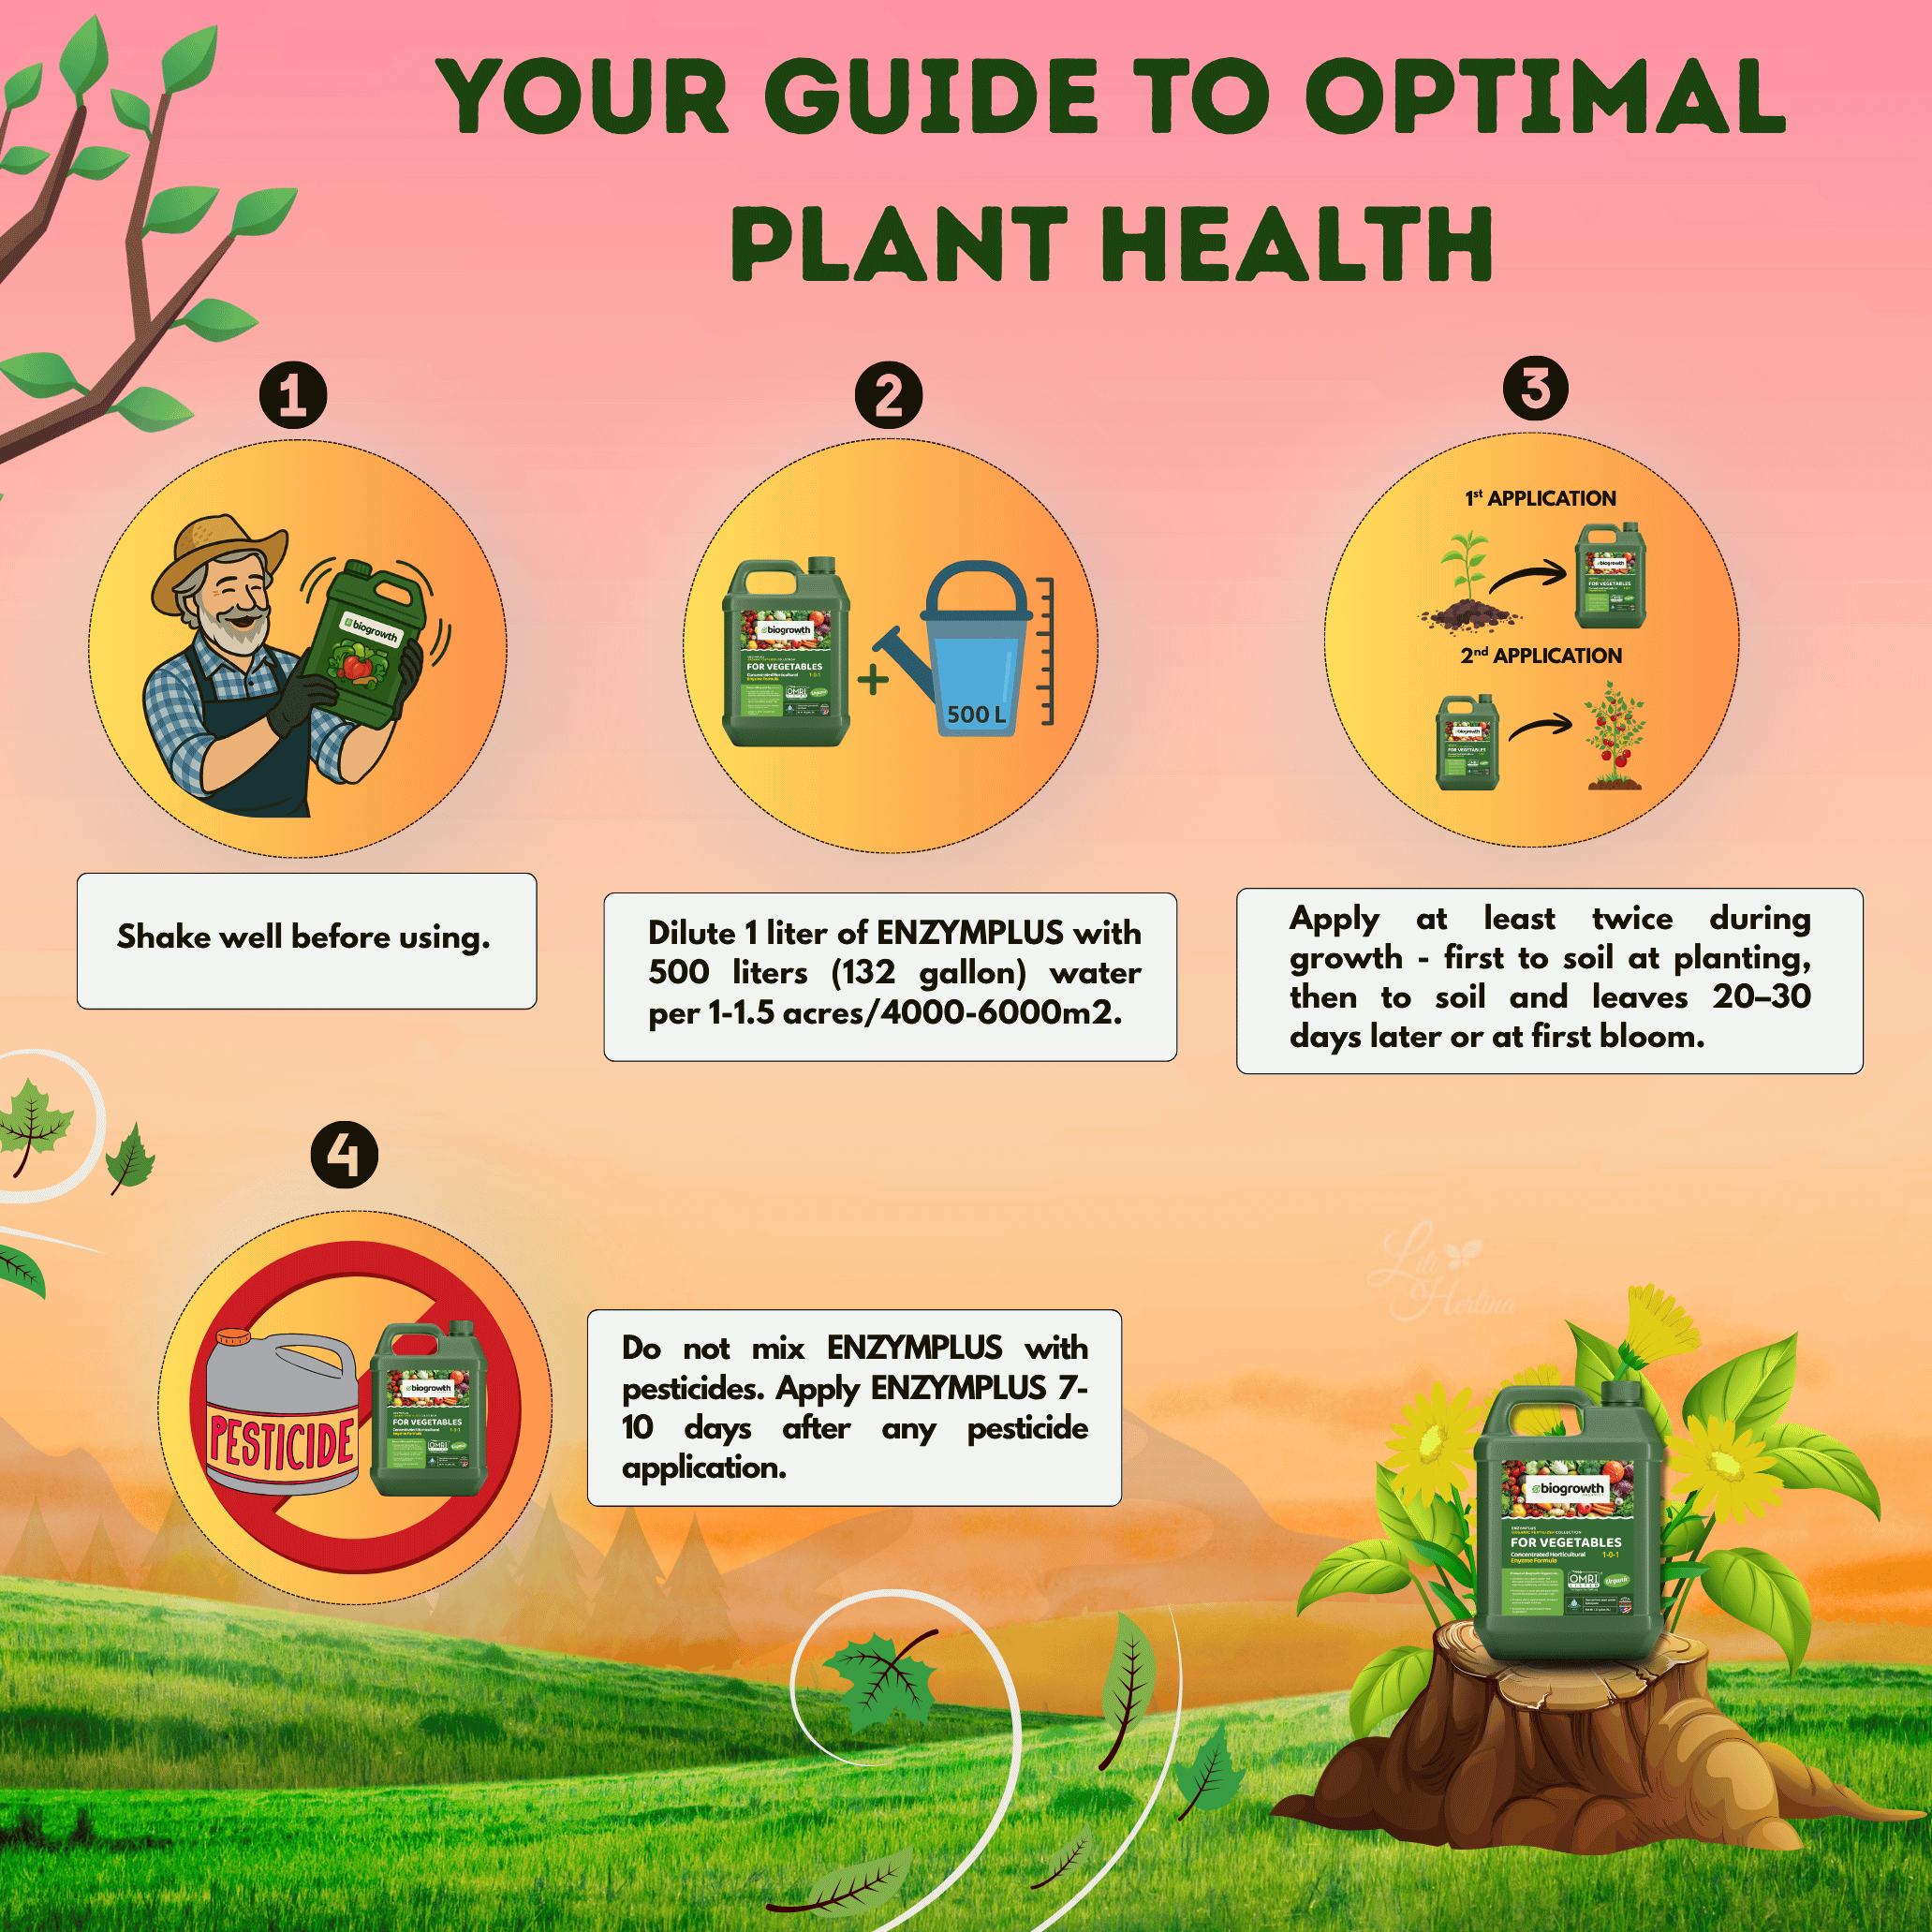
Shake Well
Shake the product well to ensure the ingredients are thoroughly mixed.
Mix with Water
Mix the suggested amount of fertilizer with water
Spray and Nourish
Spray it on to soil every 10 - 14 days
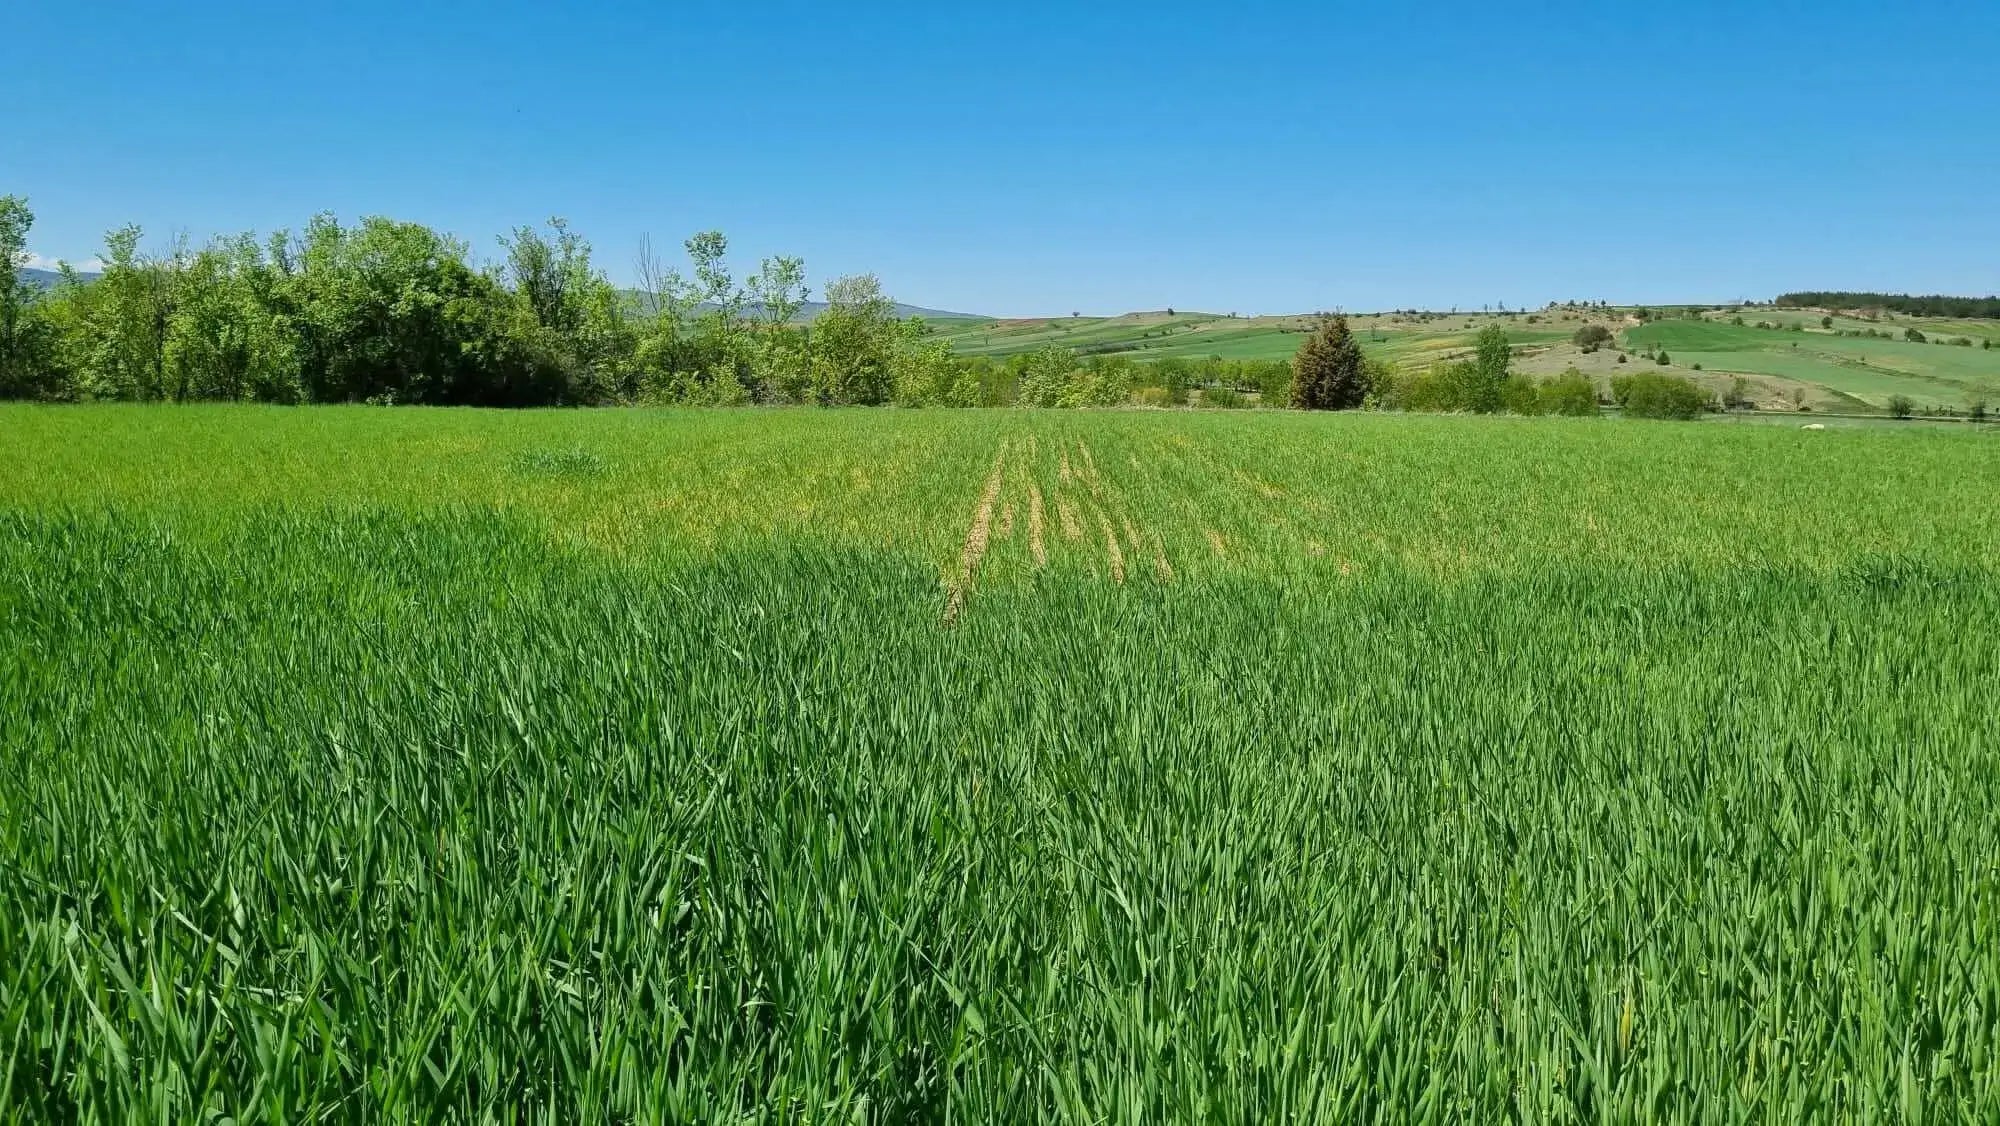
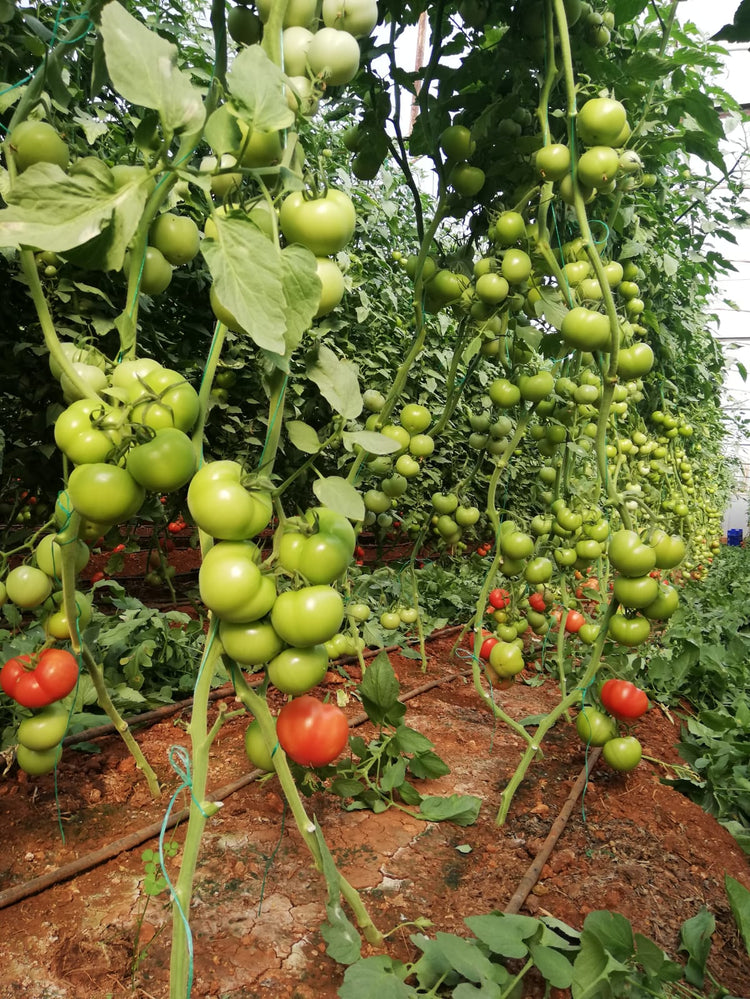
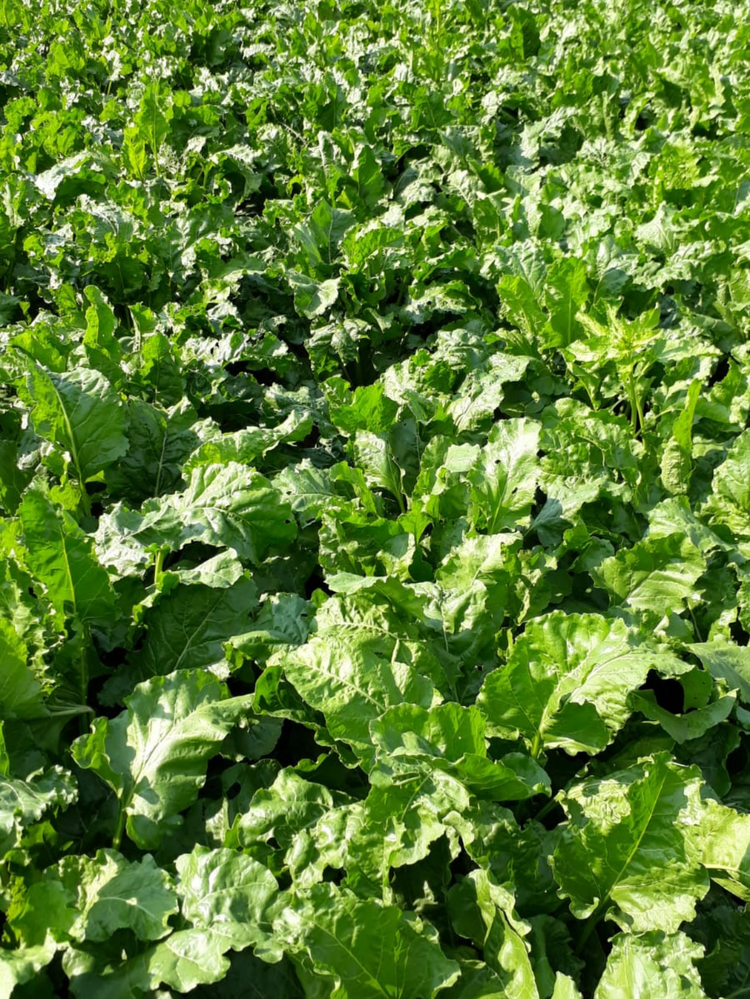
Proof in Every Leaf: BioGrowth’s Impact in Action

Cultivating a Greener Future
Driven by a passion for sustainability and innovation, BioGrowth was founded by environmentalists and scientists dedicated to creating eco-friendly solutions for healthier plants and soils.
Hear From Happy Growers
Sara
"I’ve been using Biogrowth products on my vegetable garden for two seasons now. Healthier soil, stronger plants, and no harsh chemicals. It’s made a huge difference!"
Jamal
"I was skeptical at first, but after switching to Biogrowth, my harvest was noticeably bigger and healthier."
Miguel
"Easy to apply, eco-friendly, and you can actually see the results. My tomatoes have never looked this good - and I feel good knowing it’s all organic."
Rachel
"Finally found a product that improves the soil and supports healthy growth without all the synthetic junk. Love that it’s safe for my kids and pets too."
Marcus
"No more mixing six different bottles. This one does it all. My garden’s never been happier, and neither has my schedule."
🌍The BioGrowth Difference: "A Healthier Garden, A Greener Planet"

What Does Organic Gardening Really Mean? A Complete Guide to Sustainable Soil and Plant Care
When stepping into the world of backyard cultivation, the term "organic" is everywhere. You see it on seed packets, soil bags, and plant food bottles. But what does "organic" really mean in gardening? Many beginners assume that growing organically simply means ditching the chemical weed killers. In reality, true organic gardening is a complete shift in mindset. It is a holistic approach that focuses on nurturing a living ecosystem, building long-term soil fertility, and working with nature rather than trying to dominate it with synthetic interventions. Whether you are looking to grow crisp, chemical-free vegetables or design a pet-safe lawn, this guide breaks down the core principles of organic gardening, what inputs are safe to use, and how to transition your garden into a self-sustaining sanctuary. The Core Principles of True Organic Gardening At its root, organic gardening is the practice of growing plants without the use of synthetic chemicals, artificial fertilizers, or genetically modified organisms (GMOs). Instead of relying on laboratory-engineered quick fixes, organic gardeners rely on natural processes, biodiversity, and ecological balance. It is helpful to look at this methodology through three main pillars: Sustainability: Managing your plot in a way that preserves resources and leaves the earth better than you found it. Ecology: Treating your garden as a mini-ecosystem where insects, birds, soil microbes, and plants all play a collaborative role. Health: Cultivating food and green spaces that are entirely safe for your family, your pets, and local pollinators. What Organic Gardening is Not To truly master this approach, we also have to clear up a few common misconceptions: It isn't just about avoiding pesticides: You cannot spray synthetic chemical fertilizer all over a plant and call it organic just because you didn't spray bugs. It applies to the entire lifespan of the system. It isn't less productive: When executed correctly, organic setups frequently match or out-produce chemical setups because the plants develop natural, robust immunities. It isn't inherently expensive: Many of the best organic inputs like backyard compost, fallen leaves, and kitchen scraps are entirely free. Safe Organic Inputs vs. Synthetic Chemicals to Avoid Transitioning to an eco-friendly garden means learning to read labels carefully. The easiest way for a home gardener to verify a product's organic status is to look for an OMRI Listed (Organic Materials Review Institute) seal on the packaging. Here is a quick reference table to help you distinguish between clean organic inputs and harsh synthetic options: Approved Organic Inputs Synthetic Chemicals to Avoid Nutrients: Backyard compost, aged animal manure, bone meal, kelp extract, and humic acids. Synthetic Fertilizers: Blue-powder chemical salts (like standard Miracle-Gro) that spike plants with artificial nitrogen. Pest Control: Neem oil, insecticidal soaps, garlic spray, and releasing beneficial insects (like ladybugs). Chemical Pesticides/Herbicides: Harsh broad-spectrum poisons (like Roundup) that kill non-target wildlife and linger in water runoff. Seeds: Open-pollinated, heirloom, or certified organic seed varieties. Treated Seeds: Commercial seeds coated in synthetic fungicides or neonicotinoids (which are highly toxic to bees). Why Soil Health is the Foundation of the Organic Mindset There is a golden rule that every organic grower lives by: Feed the soil, not the plant. Synthetic fertilizers are designed to bypass the soil completely. They deliver a massive shot of liquid chemicals directly to the plant's roots. While this causes a sudden burst of growth, it leaves the surrounding soil dead, compact, and completely devoid of life. Over time, this dependency destroys the natural soil structure. Organic gardening does the exact opposite. It focuses on feeding the millions of microscopic fungi, earthworms, and beneficial bacteria living beneath the surface. When you add organic matter, these microbes digest it and slowly release perfectly balanced, bio-available nutrients to your plants over time. How to Build Living Soil Naturally: Composting: Turn your kitchen scraps and yard waste into nutrient-dense "black gold" to top-dress your garden beds. Mulching: Use wood chips, straw, or shredded leaves to protect the soil surface from the baking sun, retain moisture, and suppress weeds naturally. Biological Catalysts: You can accelerate your soil's natural digestive system by introducing active biologicals. For example, applying a live-enzyme supplement like Biogrowth Catalyst helps break down raw organic matter instantly. This ensures that your fruits and vegetables can easily absorb minerals through natural micro-biology rather than chemical forcing. Managing Pests and Plant Diseases Organically If you don't use chemical sprays, how do you deal with bugs and diseases? The organic philosophy relies heavily on prevention over treatment. By building a biodiverse garden, nature will handle most of the pest control for you. Companion Planting: Planting specific flowers alongside your vegetables can do wonders. Marigolds naturally deter destructive nematodes, while planting dill and fennel attracts predatory wasps that eat hornworms. Crop Rotation: Never plant the same family of vegetables in the exact same spot year after year. Moving your tomatoes or broccoli around prevents soil-borne diseases and specific pests from overwintering and destroying next year's harvest. Physical Barriers: Utilizing simple insect netting or floating row covers can physically block pests from ever laying eggs on your delicate leafy greens. When an outbreak does happen, organic gardeners turn to targeted remedies like neem oil or liquid insecticidal soaps, which break down rapidly in the environment without leaving toxic residues on your food. Choosing the Right Products for Your Organic Journey While commercial agricultural operations go through a rigorous, multi-year process to achieve official USDA Organic Certification, home gardeners have the freedom to set their own high standards. When choosing shelf-stable products to support your garden, look for clean, liquid formulas derived from natural elements. If your goal is maintaining a sprawling, vibrant lawn or striking flower beds without introducing chemicals that could harm your pets or children, utilizing an enzyme-enhanced formula like Biogrowth Vivid allows you to unlock locked-up soil minerals organically, resulting in deep green foliage and stunning blossoms completely naturally. Remember, organic gardening isn't about achieving a flawless, sterile environment. It is about progress, stewardship, and cultivating a deep respect for natural growth cycles. By supporting the biological engine beneath the surface, your garden will thrive for seasons to come. Frequently Asked Questions 1. Is organic gardening more expensive than traditional gardening? Not necessarily. While some specialty OMRI-listed retail products may have a slight premium over mass-produced synthetic chemicals, organic gardening encourages self-sufficiency. Building your own compost pile, saving seeds, and utilizing natural mulches like fallen leaves can actually make organic gardening far cheaper over time than buying seasonal chemical treatments. 2. Can I use tap water in an organic garden? Yes, you can. However, municipal tap water often contains chlorine or chloramine to kill off bacteria. In large quantities, this can slightly suppress the beneficial microbes in your living soil. To remedy this, you can let your tap water sit out in an open bucket for 24 hours to allow the chlorine to dissipate, or focus on collecting natural, slightly acidic rainwater. 3. How long does it take for a garden to become fully organic? If your soil has been heavily treated with synthetic chemicals in the past, it typically takes roughly 2 to 3 seasons of chemical-free management and organic amending for the natural soil biology and earthworm populations to fully regenerate and stabilize. 4. Are heirloom seeds automatically organic? No. "Heirloom" simply refers to the heritage and genetics of the seed (varieties that have been passed down for generations and are open-pollinated). However, an heirloom seed could still have been harvested from a parent plant that was sprayed with synthetic chemicals. If you want completely chemical-free genetics, look specifically for the "Certified Organic" label on the seed packet. 5. Is organic animal manure safe to put directly into garden beds? You should never add "hot" or fresh manure directly to your growing vegetables, as it can burn plant roots and potentially harbor harmful pathogens like E. coli. Manure must be aged or thoroughly hot-composted for several months before it is safe to introduce to your garden soil.
Read Blog
Soil pH Explained: How to Test and Adjust Your Garden Soil for Maximum Yields
When it comes to cultivating a thriving backyard garden or a picture-perfect lawn, we naturally focus on sunlight, consistent watering, and choosing the right fertilizers. However, there is a hidden, foundational metric that dictates whether your plants live or die: soil pH. If your plants are suffering from yellowing leaves, stunted growth, or poor yields despite your best efforts, the culprit likely isn't a lack of nutrients - it’s a pH imbalance. In this comprehensive guide, we will break down exactly what soil pH is, why it controls your garden's nutrient absorption, and how you can easily test and adjust it for a healthier, more vibrant harvest. What Is Soil pH and Why Does It Matter? In scientific terms, soil pH measures the concentration of hydrogen ions in your soil on a scale from 0 to 14. This scale determines how acidic or alkaline your growing medium is: 0 to 6.9: Acidic Soil 7.0: Neutral Soil 7.1 to 14: Alkaline (Basic) Soil For the vast majority of garden plants, the sweet spot lies in a slightly acidic to neutral range, specifically between 6.0 and 7.0. The Nutrient Lockout Effect Why should you care about these numbers? Because soil pH acts as the "gatekeeper" for your plant's root system. If your soil pH drifts too far in either direction, it triggers a phenomenon known as nutrient lockout. Even if your soil is packed with premium organic matter and fertilizers, a bad pH physically prevents the roots from absorbing those nutrients. Here is a quick breakdown of how an incorrect pH balance starves your garden: Soil Condition Nutrient Availability Impact Visible Plant Symptoms Too Acidic (Below 6.0) Calcium and magnesium become chemically bound and unavailable; toxic levels of aluminum can build up. Stunted root systems, blossom end rot in tomatoes, overall weak stalks. Too Alkaline (Above 7.0) Vital micronutrients like iron, phosphorus, and manganese become completely locked up. Interveinal chlorosis (yellow leaves with green veins), poor flowering, low fruit yields. What Is the Ideal Soil pH for Your Garden? Different plants have evolved to thrive in different chemical environments. Before you begin amending your garden beds, it is crucial to know what your specific plants prefer. Most Vegetables: 6.0 – 7.0 (Tomatoes, peppers, and leafy greens love a slightly acidic profile) Lawn Grasses: 6.0 – 7.0 (For that deep, lush green turf) Most Herbs: 6.0 – 7.5 (Basil, oregano, and rosemary are relatively forgiving) Ornamental Flowers: 5.5 – 7.0 (Varies by species; hydrangeas, for example, change color based on this exact metric!) Acid-Loving Plants: 4.5 – 5.5 (Blueberries, strawberries, and azaleas require highly acidic environments) Pro Tip: If you are trying to maximize the flavor and size of your backyard produce, keeping your soil balanced is only step one. Utilizing an enzyme-powered optimizer can completely bypass minor soil deficiencies. For edible crops, exploring how to use organic plant vitamins can help maintain steady nutrient uptake even during minor seasonal weather shifts. How to Test Your Soil pH at Home You cannot fix what you haven't measured. Luckily, finding your soil's current baseline is simple and can be done using two distinct methods. Method 1: The Digital Meter or Soil Test Kit (Most Accurate) For precise gardening, pick up an inexpensive digital pH soil probe or a liquid testing kit from your local garden center. Simply take a small soil sample from about 4 to 6 inches beneath the surface, mix it with distilled water as directed, and read your baseline metric. Method 2: The DIY Vinegar & Baking Soda Test (Fast & Free) If you just want a quick, rough idea of whether your soil leans heavily toward one extreme, you can perform this quick home science experiment: Collect two separate soil samples from your garden in clean cups and mix them with a splash of water to create a mud consistency. Test for Alkalinity: Pour a splash of household vinegar into the first cup. If it fizzes or bubbles, your soil is naturally alkaline. Test for Acidity: Add a spoonful of baking soda to the second cup. If it fizzes or bubbles, your soil is highly acidic. If neither cup reacts, your soil is sitting comfortably near a neutral 7.0. Step-by-Step: How to Adjust Soil pH Once you have your test results, you can deliberately steer your soil chemistry back into the ideal zone. Remember: adjusting soil pH takes time. Chemical changes in soil biology can take several weeks or months to fully stabilize, so it is always best to amend your beds in the late autumn or early spring before planting. How to Raise Soil pH (Fixing Overly Acidic Soil) If your soil test comes back below 6.0, you need to neutralize the acidity. Apply Garden Lime: Pulverized agricultural limestone or dolomitic lime is the safest and most effective way to raise pH. Dolomitic lime also adds a helpful boost of magnesium to the soil. Use Wood Ash: Clean ash from a wood-burning fireplace can raise pH rapidly, but it is highly concentrated. Apply it sparingly to avoid spiking your levels too quickly. How to Lower Soil pH (Fixing Overly Alkaline Soil) If your test reads above 7.0 and you want to grow vibrant vegetables or acid-loving berries, you need to increase the acidity. Apply Elemental Sulfur: This is the most reliable, long-term solution for lowering soil pH. Soil bacteria gradually convert the sulfur into a form that safely lowers the surrounding pH. Incorporate Sphagnum Peat Moss: Digging organic peat moss into your planting holes naturally lowers the pH while simultaneously improving soil aeration and moisture retention. The Secret to Maintaining Nutrient Availability While modifying your physical soil chemistry is a long-term project, you can protect your plants from nutrient lockout right now by focusing on root health. When your soil structure is compact, cold, or chemically imbalanced, traditional synthetic fertilizers simply wash away, worsening your soil quality. The solution lies in encouraging a robust, biologically active root zone that can efficiently scavenge for minerals. For fruit and vegetable growers, adding an enzyme-rich supplement like Biogrowth Catalyst to your routine introduces live enzymes that act as an external digestive system for your soil. These enzymes break down locked-up organic matter, turning it into an instantly bio-available liquid format that roots can absorb regardless of minor pH variances. Similarly, if you are working to maintain a pristine, resilient lawn or vibrant flower beds through harsh seasonal weather, introducing Biogrowth Vivid provides a targeted blend of humic acids, fulvic acids, and specialized vitamins to stabilize your soil’s micro-fertility and keep your root systems deeply anchored and fully nourished. Healthy Soil Yields Happy Plants Managing your soil pH doesn't have to be complicated. By running a simple annual test, adding natural amendments like lime or sulfur when necessary, and reinforcing your garden with organic, biological catalysts, you create a self-sustaining ecosystem where your plants can grow stronger, yield bigger harvests, and fight off pests with minimal effort on your part. Get your pH right, fuel the soil biology, and let nature do the heavy lifting! Frequently Asked Questions Q: Can I use vinegar to permanently lower my soil pH for acid-loving plants? No. While household vinegar is highly acidic, using it as a soil drench provides only a temporary drop in pH and can actually harm beneficial soil microbes if used in large quantities. For safe, long-term acidification for crops like berries, it is much better to work elemental sulfur or organic peat moss into your soil. Q: Does watering my garden change the soil pH over time? Yes, it can. If your home's tap water or well water is highly alkaline (hard water with high calcium content), consistently watering your garden with it will gradually raise your soil's pH over time. If you suspect your water is affecting your plants, you can test your tap water with a standard liquid pH kit and collect rainwater, which is naturally slightly acidic, whenever possible. Q: What is the difference between garden lime and dolomitic lime? Both are used to raise soil pH and make it less acidic. However, standard garden lime (calcium carbonate) only adds calcium to the soil, while dolomitic lime contains a high concentration of both calcium and magnesium. If your soil test shows a magnesium deficiency alongside a low pH, dolomitic lime is the superior choice. Q: Can a hydroponic system suffer from soil pH issues? Hydroponic systems don't use soil, but water pH is even more critical in hydro setups because there is no soil buffer to protect the roots. In a hydroponic system, a pH drift outside the ideal 5.5 to 6.5 range will trigger instant nutrient lockout. Using clean, enzyme-based liquid vitamins like Biogrowth Thrive helps keep the root zone pristine and active, ensuring efficient nutrient absorption even through slight water adjustments. Q: How long does it take for lime or sulfur to change the soil pH? Soil chemistry adjustments do not happen overnight. Elemental sulfur requires soil bacteria to break it down, which can take 2 to 3 months to show a significant change. Lime works a bit faster but still takes several weeks to fully react with the soil. For the best results, always test your soil and apply these amendments in the late fall or very early spring before planting.
Read Blog
Best Plants for Your First Raised Bed Garden: A Beginner’s Guide to Success
So, you’ve built your first raised bed. You’re one step closer to harvesting fresh, homegrown veggies and herbs right outside your door. But as you stand before that pristine plot of soil, the big question hits: What should you grow first? The secret to a successful first season isn't growing everything; it’s choosing high-yield, low-maintenance plants that offer "quick wins." In this guide, we’ll break down the best crops for beginners and how to ensure your raised bed thrives from day one. 1. Fast-Growing Leafy Greens Leafy greens are the "entry-level" superstars of the gardening world. Most are ready to harvest in just a few weeks and thrive in the cooler temperatures of spring and fall. Top Picks: Romaine lettuce, Spinach, Arugula, and Kale. Why they work: They tolerate partial shade and allow for "cut-and-come-again" harvesting, meaning you can snip leaves and they’ll grow right back. Pro-Tip: Because greens have shallow roots, they are prone to drying out. Using a biological booster like Biogrowth Catalyst helps these fast growers absorb water more efficiently, keeping them crisp even during sudden spring heat spikes. 2. Fresh Kitchen Herbs Nothing beats snipping fresh basil or cilantro while you’re cooking. Most herbs love the superior drainage that raised beds provide. Top Picks: Basil, Parsley, Thyme, and Chives. Why they work: They are aromatic, low-maintenance, and act as great companion plants to deter pests from your vegetables. 3. Easy Root Vegetables Raised beds are the "gold standard" for root crops. Because you control the soil texture, you can ensure it stays loose and stone-free, the two things carrots and radishes need most. Top Picks: Radishes (mature in just 3 weeks!), Carrots, and Beets. Why they work: They take up very little vertical space and are incredibly satisfying to pull from the earth. 4. The Garden Stars: Tomatoes and Peppers These are the heavy hitters of the summer garden. They love the extra warmth that raised bed soil provides. Top Picks: Cherry tomatoes (highly prolific) and Jalapeños or Bell peppers. Success Strategy: Tomatoes need a support system like a cage or stake. Since these are "hungry" plants, a bi-weekly dose of organic vitamins ensures they have the energy to produce those plump, flavor-rich fruits we all crave. 5. Space-Saving Vines: Beans and Cucumbers If your raised bed is small, look for "bush" varieties or grow "pole" varieties vertically on a trellis. Top Picks: Bush beans and Slicing cucumbers. The Science Bit: Beans actually help your garden by "fixing" nitrogen into the soil, naturally improving the environment for the plants around them. Maximizing Your Raised Bed Success To get the most out of your new setup, follow these beginner-friendly rules: Don’t Overcrowd: It’s tempting to pack seedlings in, but airflow is vital to prevent disease. Focus on Soil Health: Raised bed soil can lose nutrients faster than the ground. To keep your "biological engine" running, treat your bed to a Live Enzyme treatment like Catalyst every 10–14 days. This keeps the soil "active" and the nutrients bio-available. Invite the Helpers: Plant Marigolds or Nasturtiums along the edges. They add a pop of color, attract pollinators, and naturally repel common garden pests. Sample 4x4 Raised Bed Plan Placement Plant Type Quantity Back Row Tomato (with cage) & Pole Beans 1 Tomato / 4 Beans Middle Row Carrots & Basil 12 Carrots / 2 Basil Front Row Lettuce & Radishes 4 Lettuce / 10 Radishes Corners Marigolds 2–4 Frequently Asked Questions 1. Is raised bed gardening easier than in-ground gardening? Generally, yes. You have fewer weeds, better drainage, and you don't have to deal with compacted or poor-quality native soil. It's also easier on your back! 2. How often should I water my raised bed? Raised beds dry out faster than the ground. In the heat of summer, you may need to water daily. Aim to keep the soil moist like a wrung-out sponge. 3. Do I need to add fertilizer to my new raised bed? Even with high-quality potting mix, plants quickly use up available minerals. Using an organic vitamin boost like Catalyst ensures your plants get a steady supply of B, C, and E vitamins without the risk of "burning" them with harsh synthetics. 4. What is the best soil for a raised bed? A mix of 60% topsoil, 30% high-quality compost, and 10% potting soil (or peat moss/perlite) is ideal for drainage and nutrient retention. 5. Can I grow flowers and vegetables together? Absolutely! This is called intercropping. Flowers like marigolds help protect your veggies from pests while making your garden look beautiful.
Read Blog